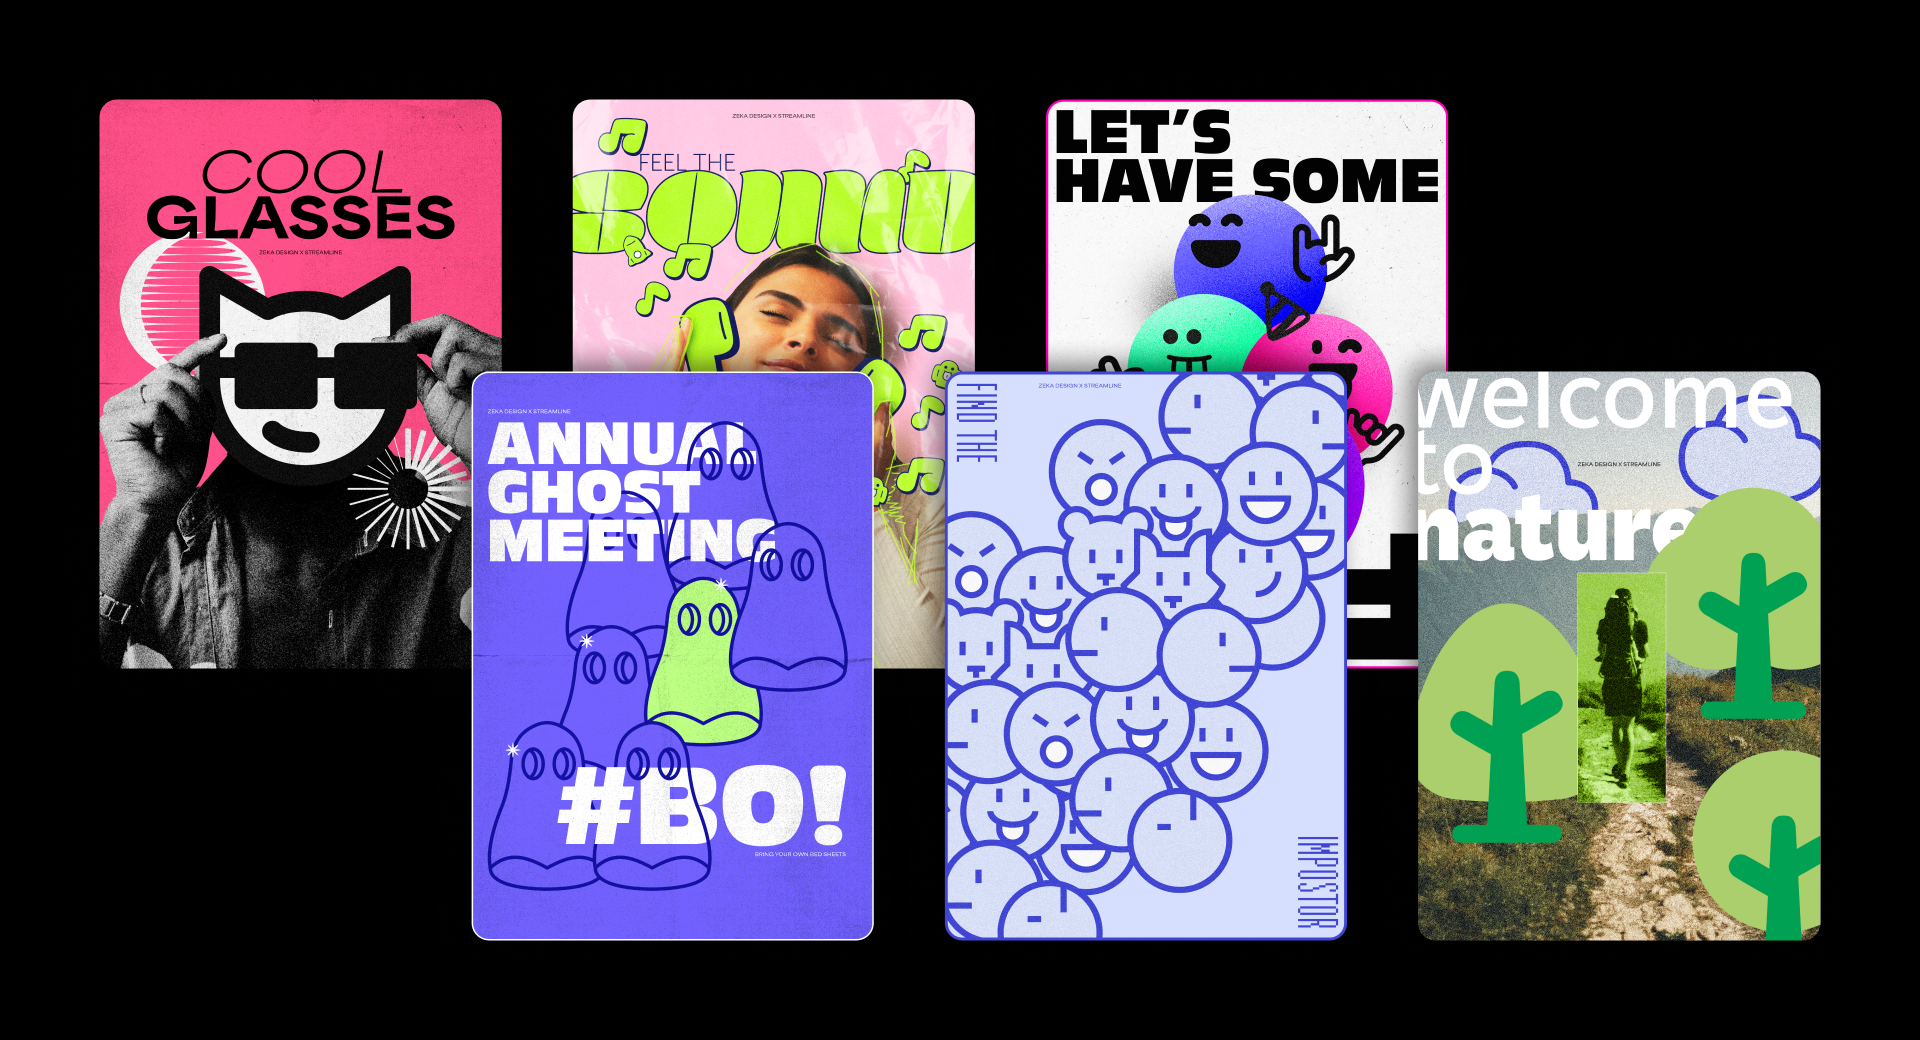
How to Design Expressive Posters Using Icons
Icons are more than just decorative elements, they’re powerful design tools that can be used to create unique posters due to its nature. When used intentionally, icons can guide the eye, build visual metaphors, and inject personality into your projects.
In this post, we’ll explore through creative tutorials that show exactly how to turn a basic icon set into expressive, dynamic compositions. You’ll learn how to build playful characters with simple shapes and how to blend photography with illustration to create high-energy, music-inspired designs.
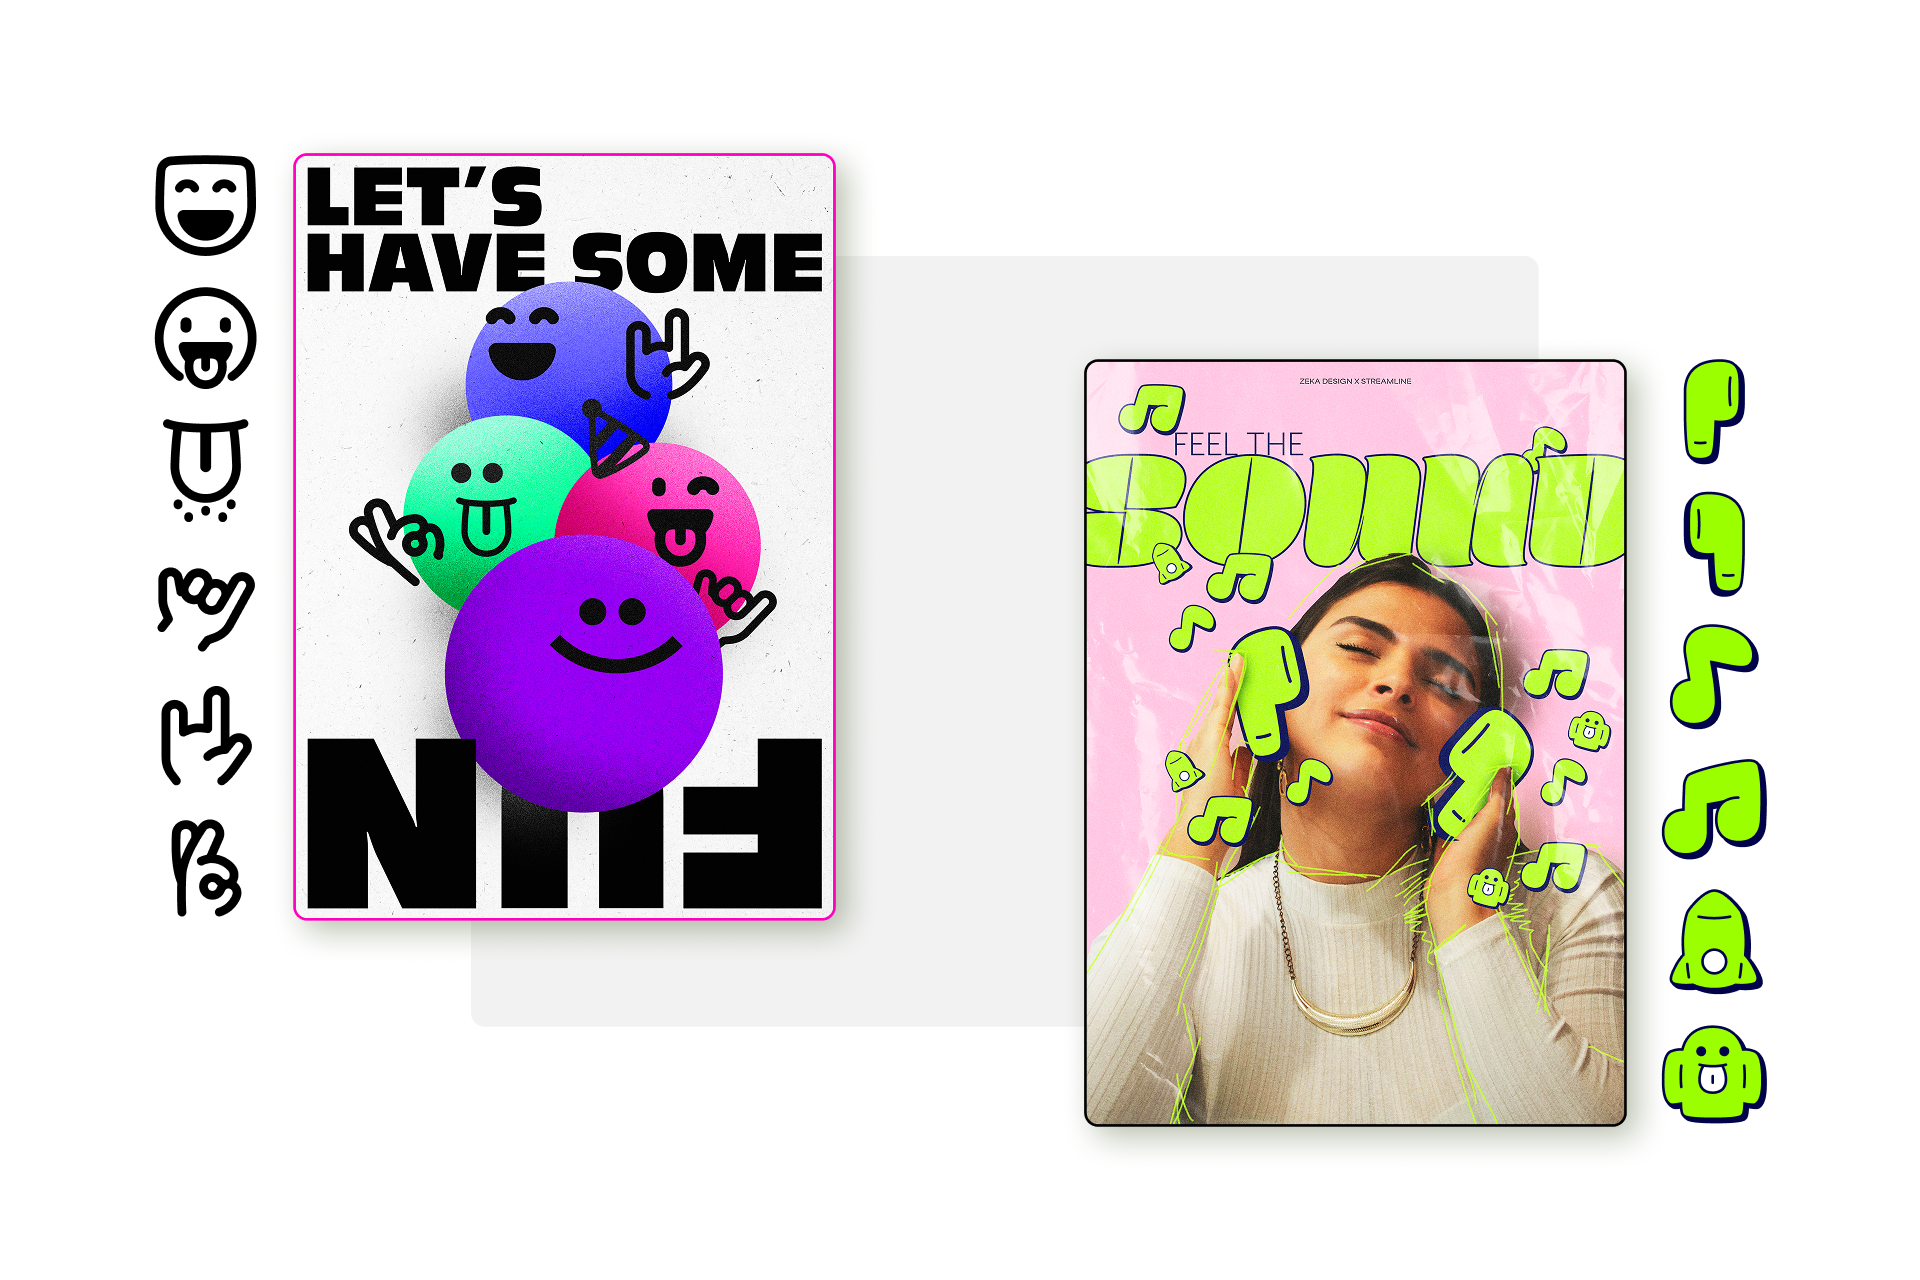
Tutorial 1: Geometric Faces
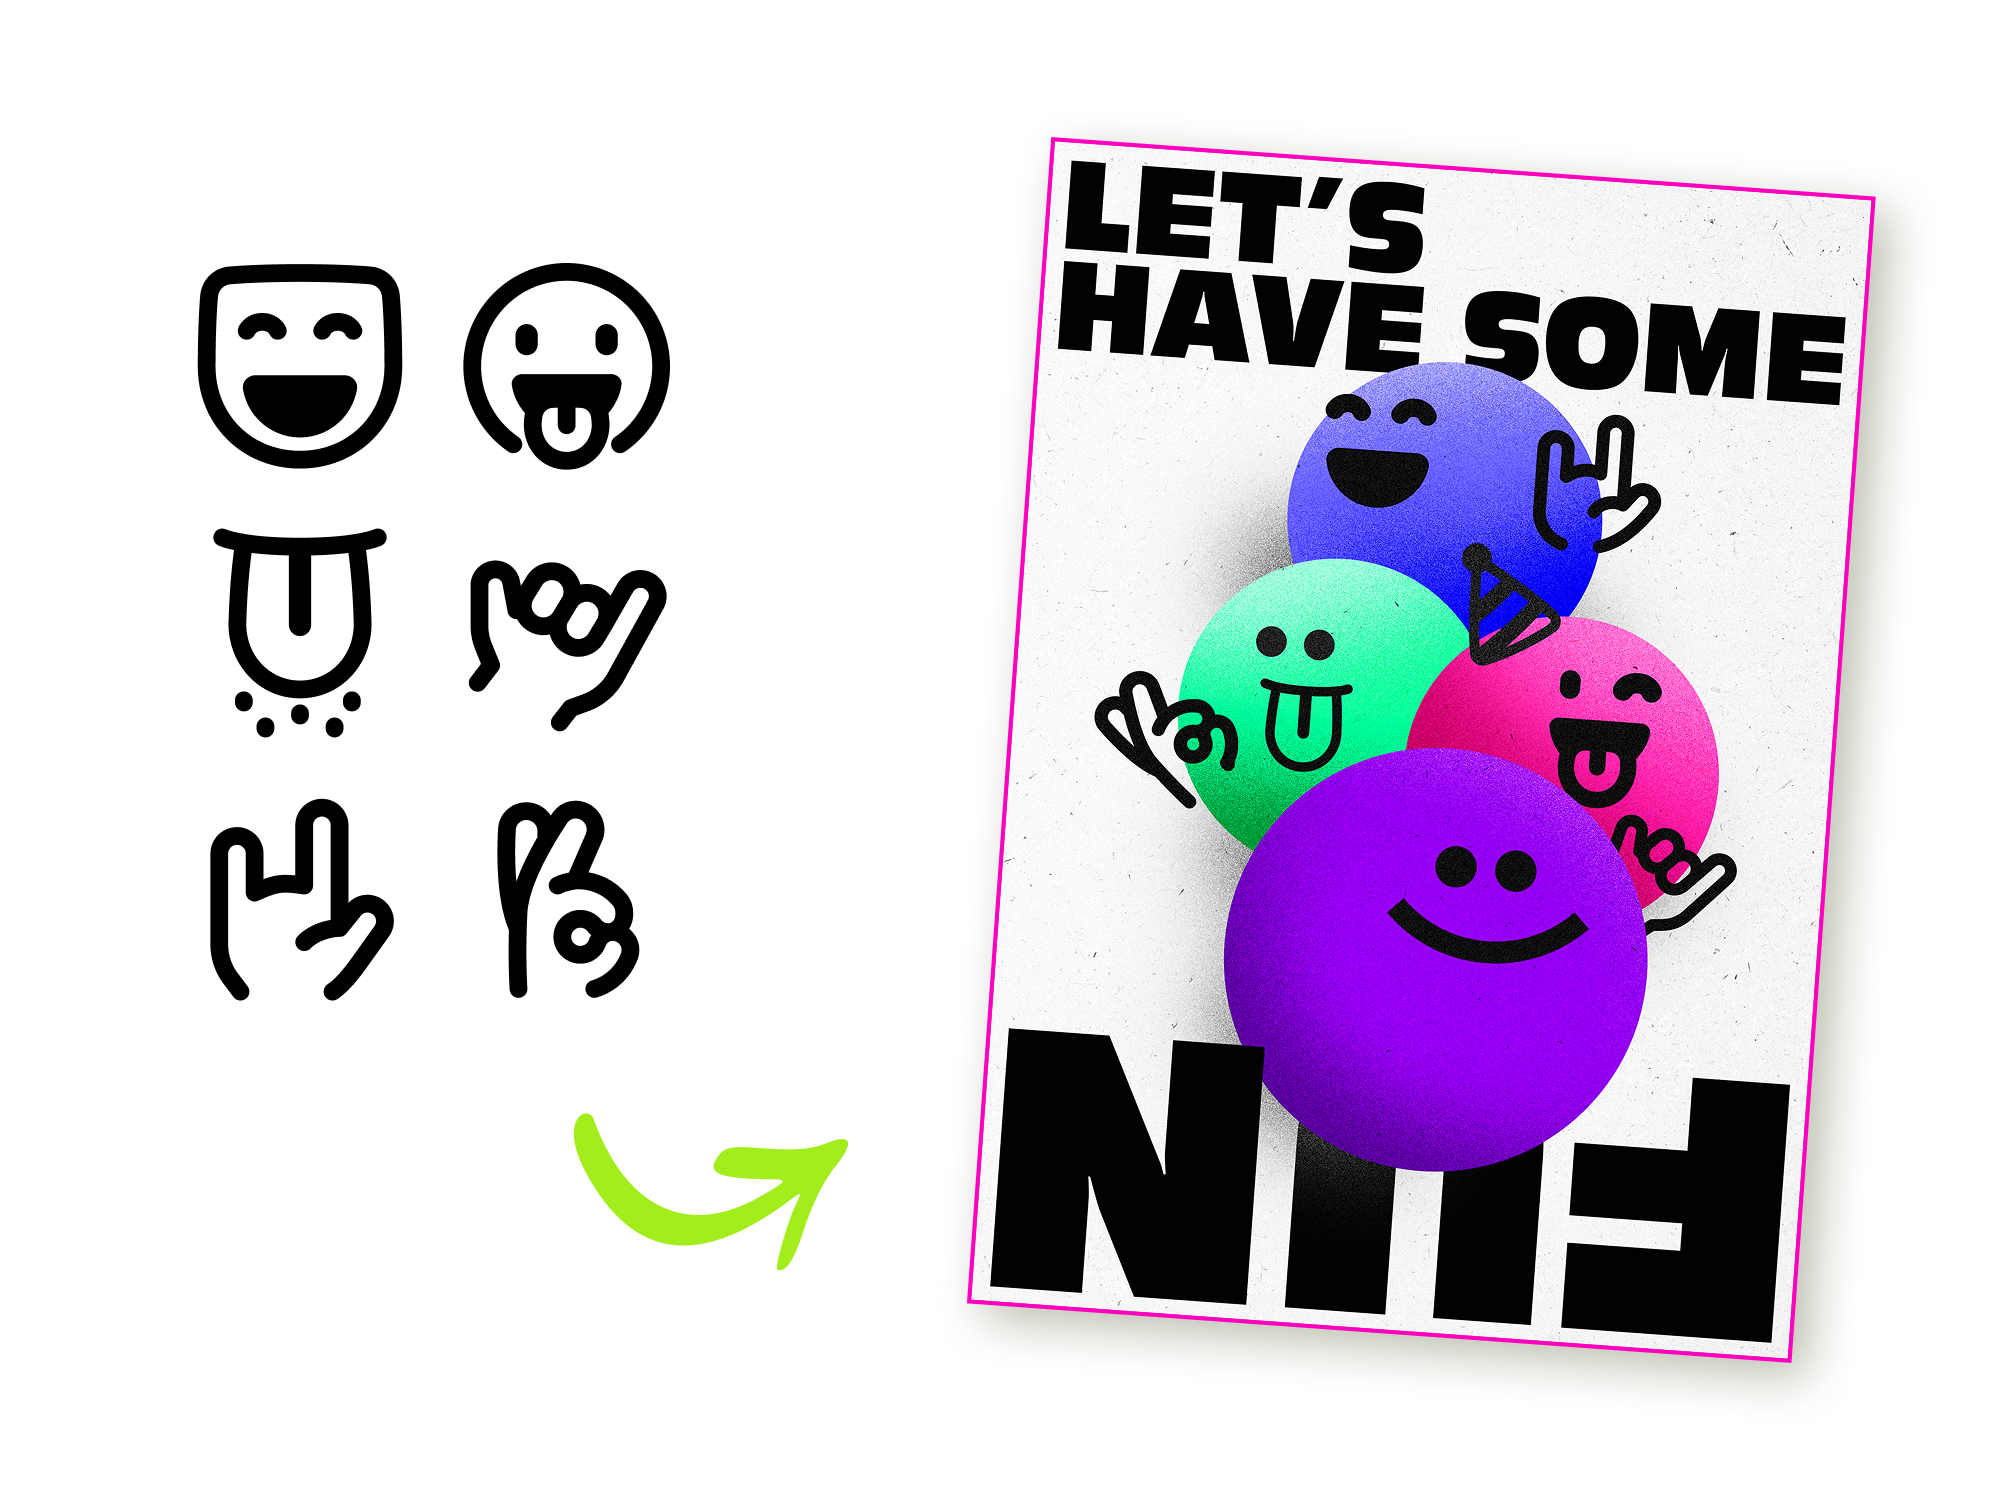
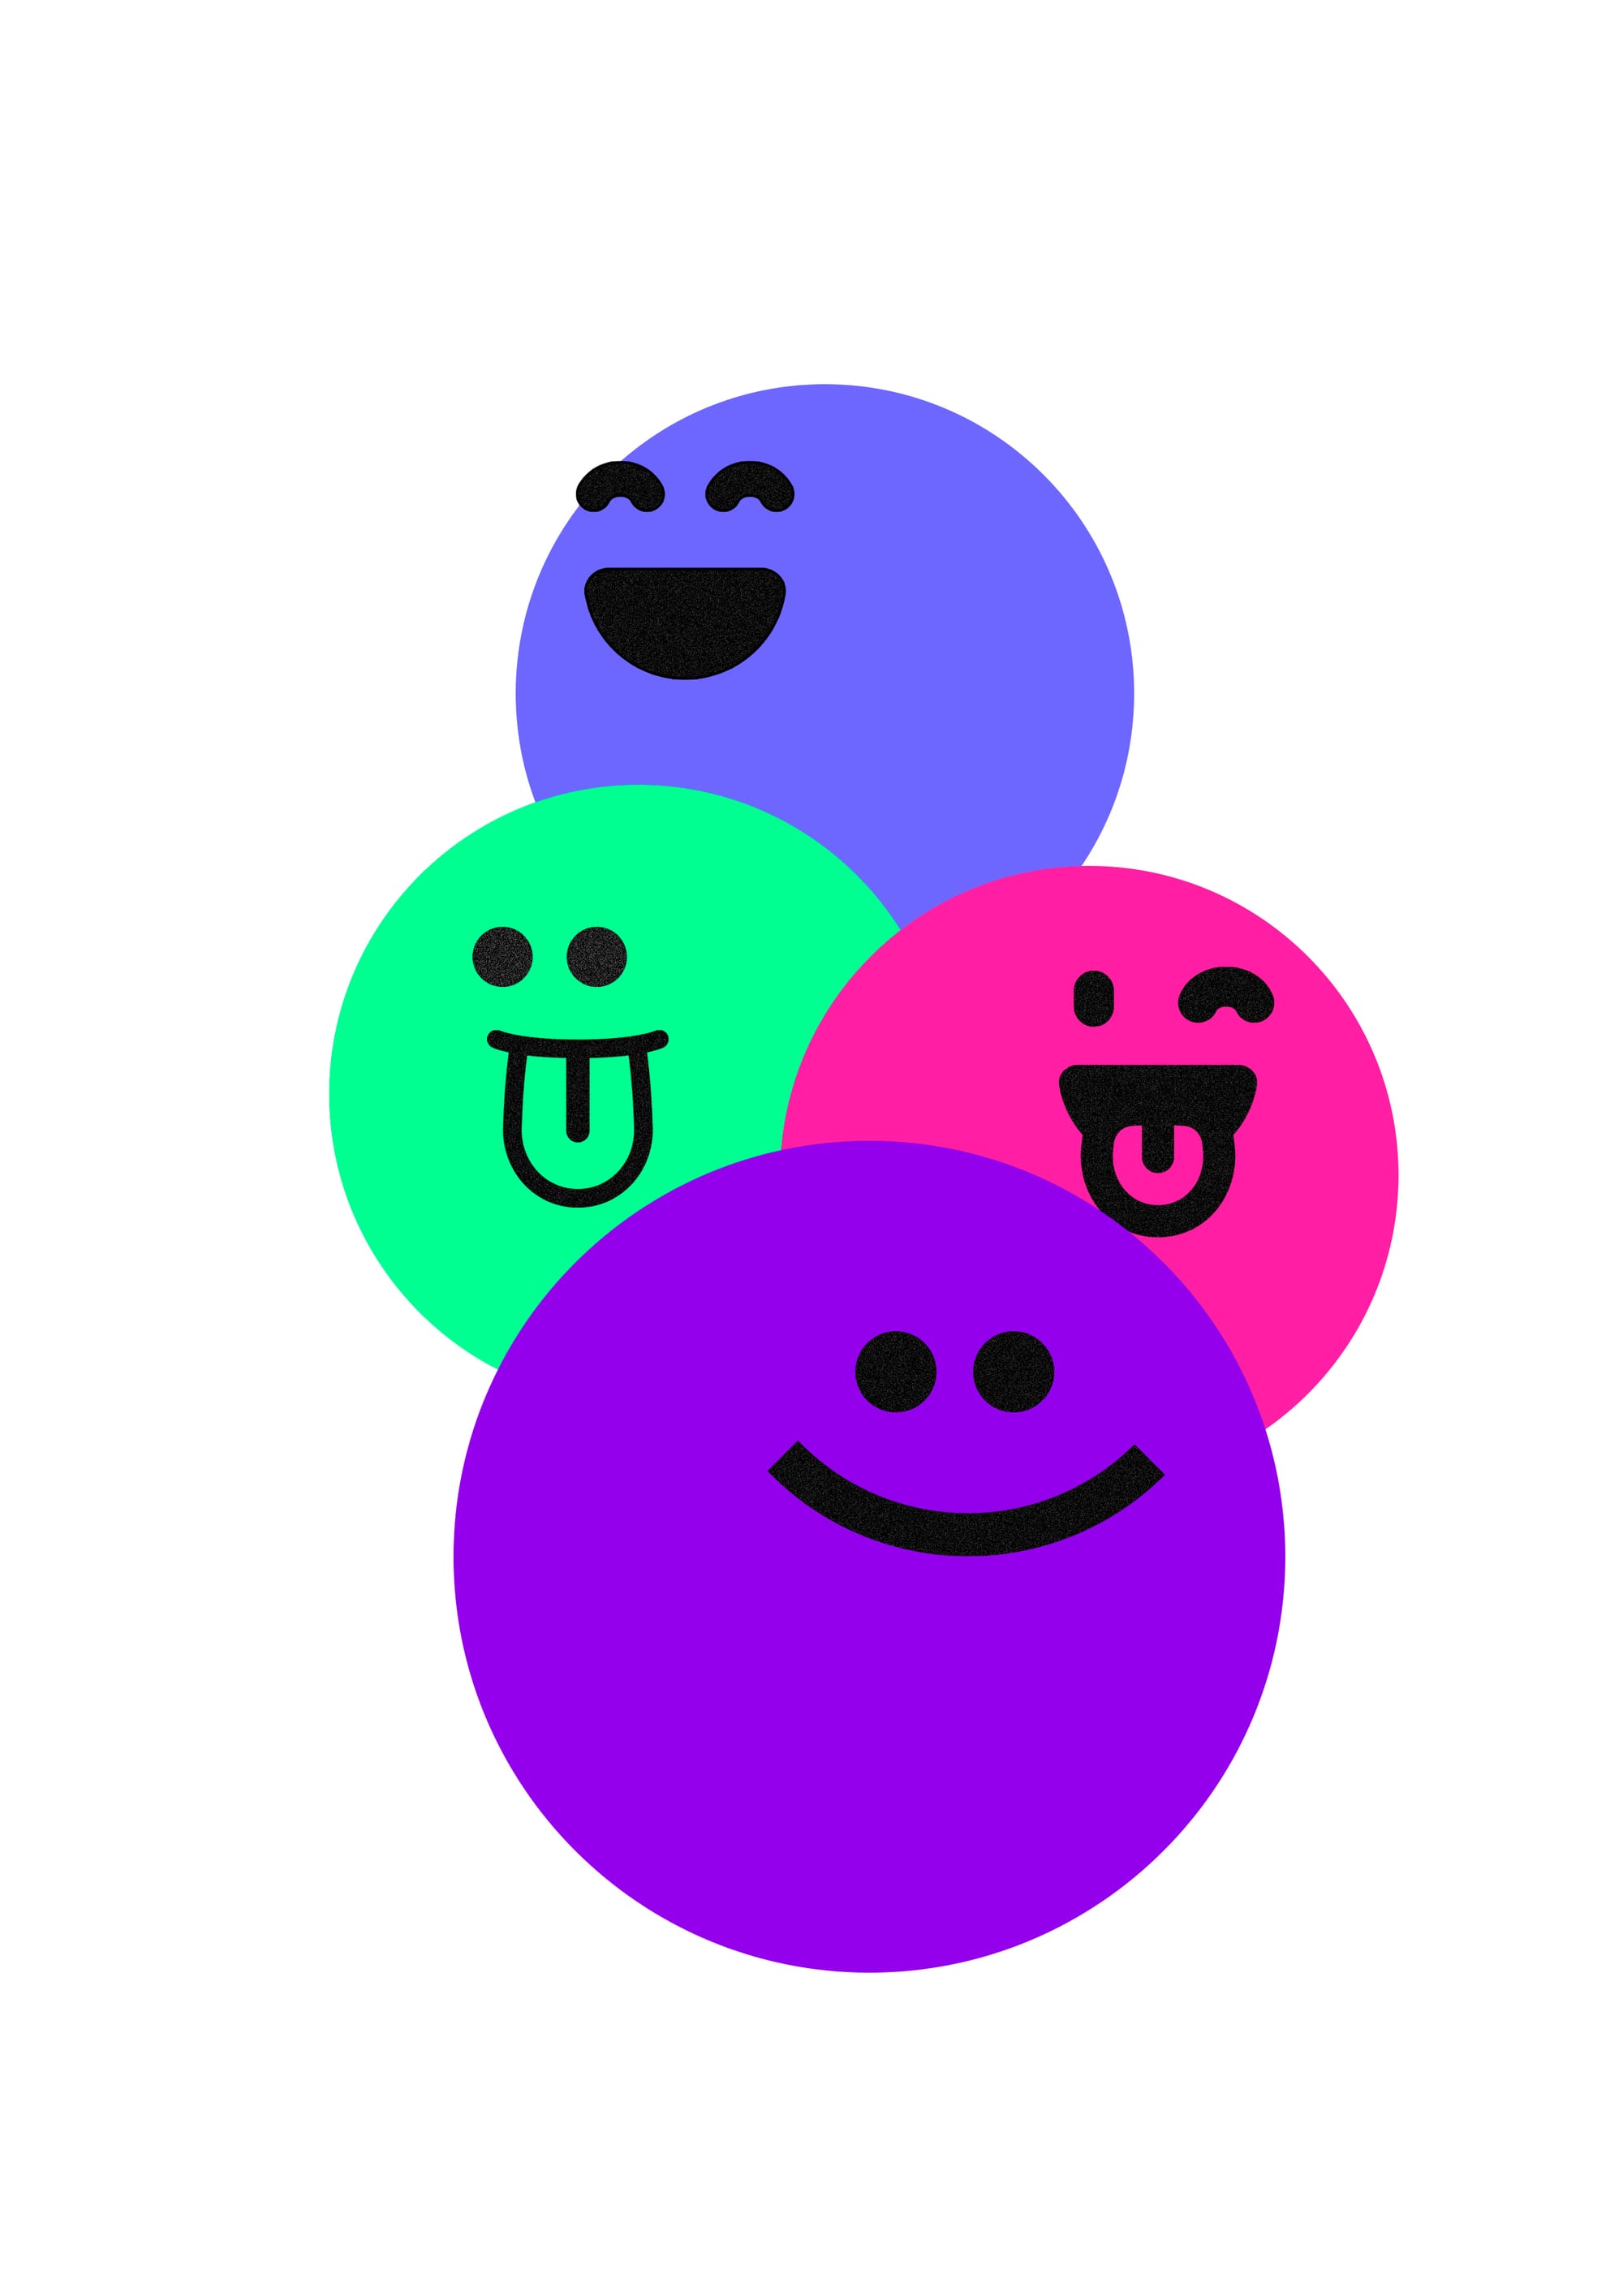
In this first poster tutorial, the goal is to create an artwork from scratch using simple geometric shapes, specifically circles, and bring them to life with icon-based expressions. This approach can also work using triangles, squares, or abstract shapes.
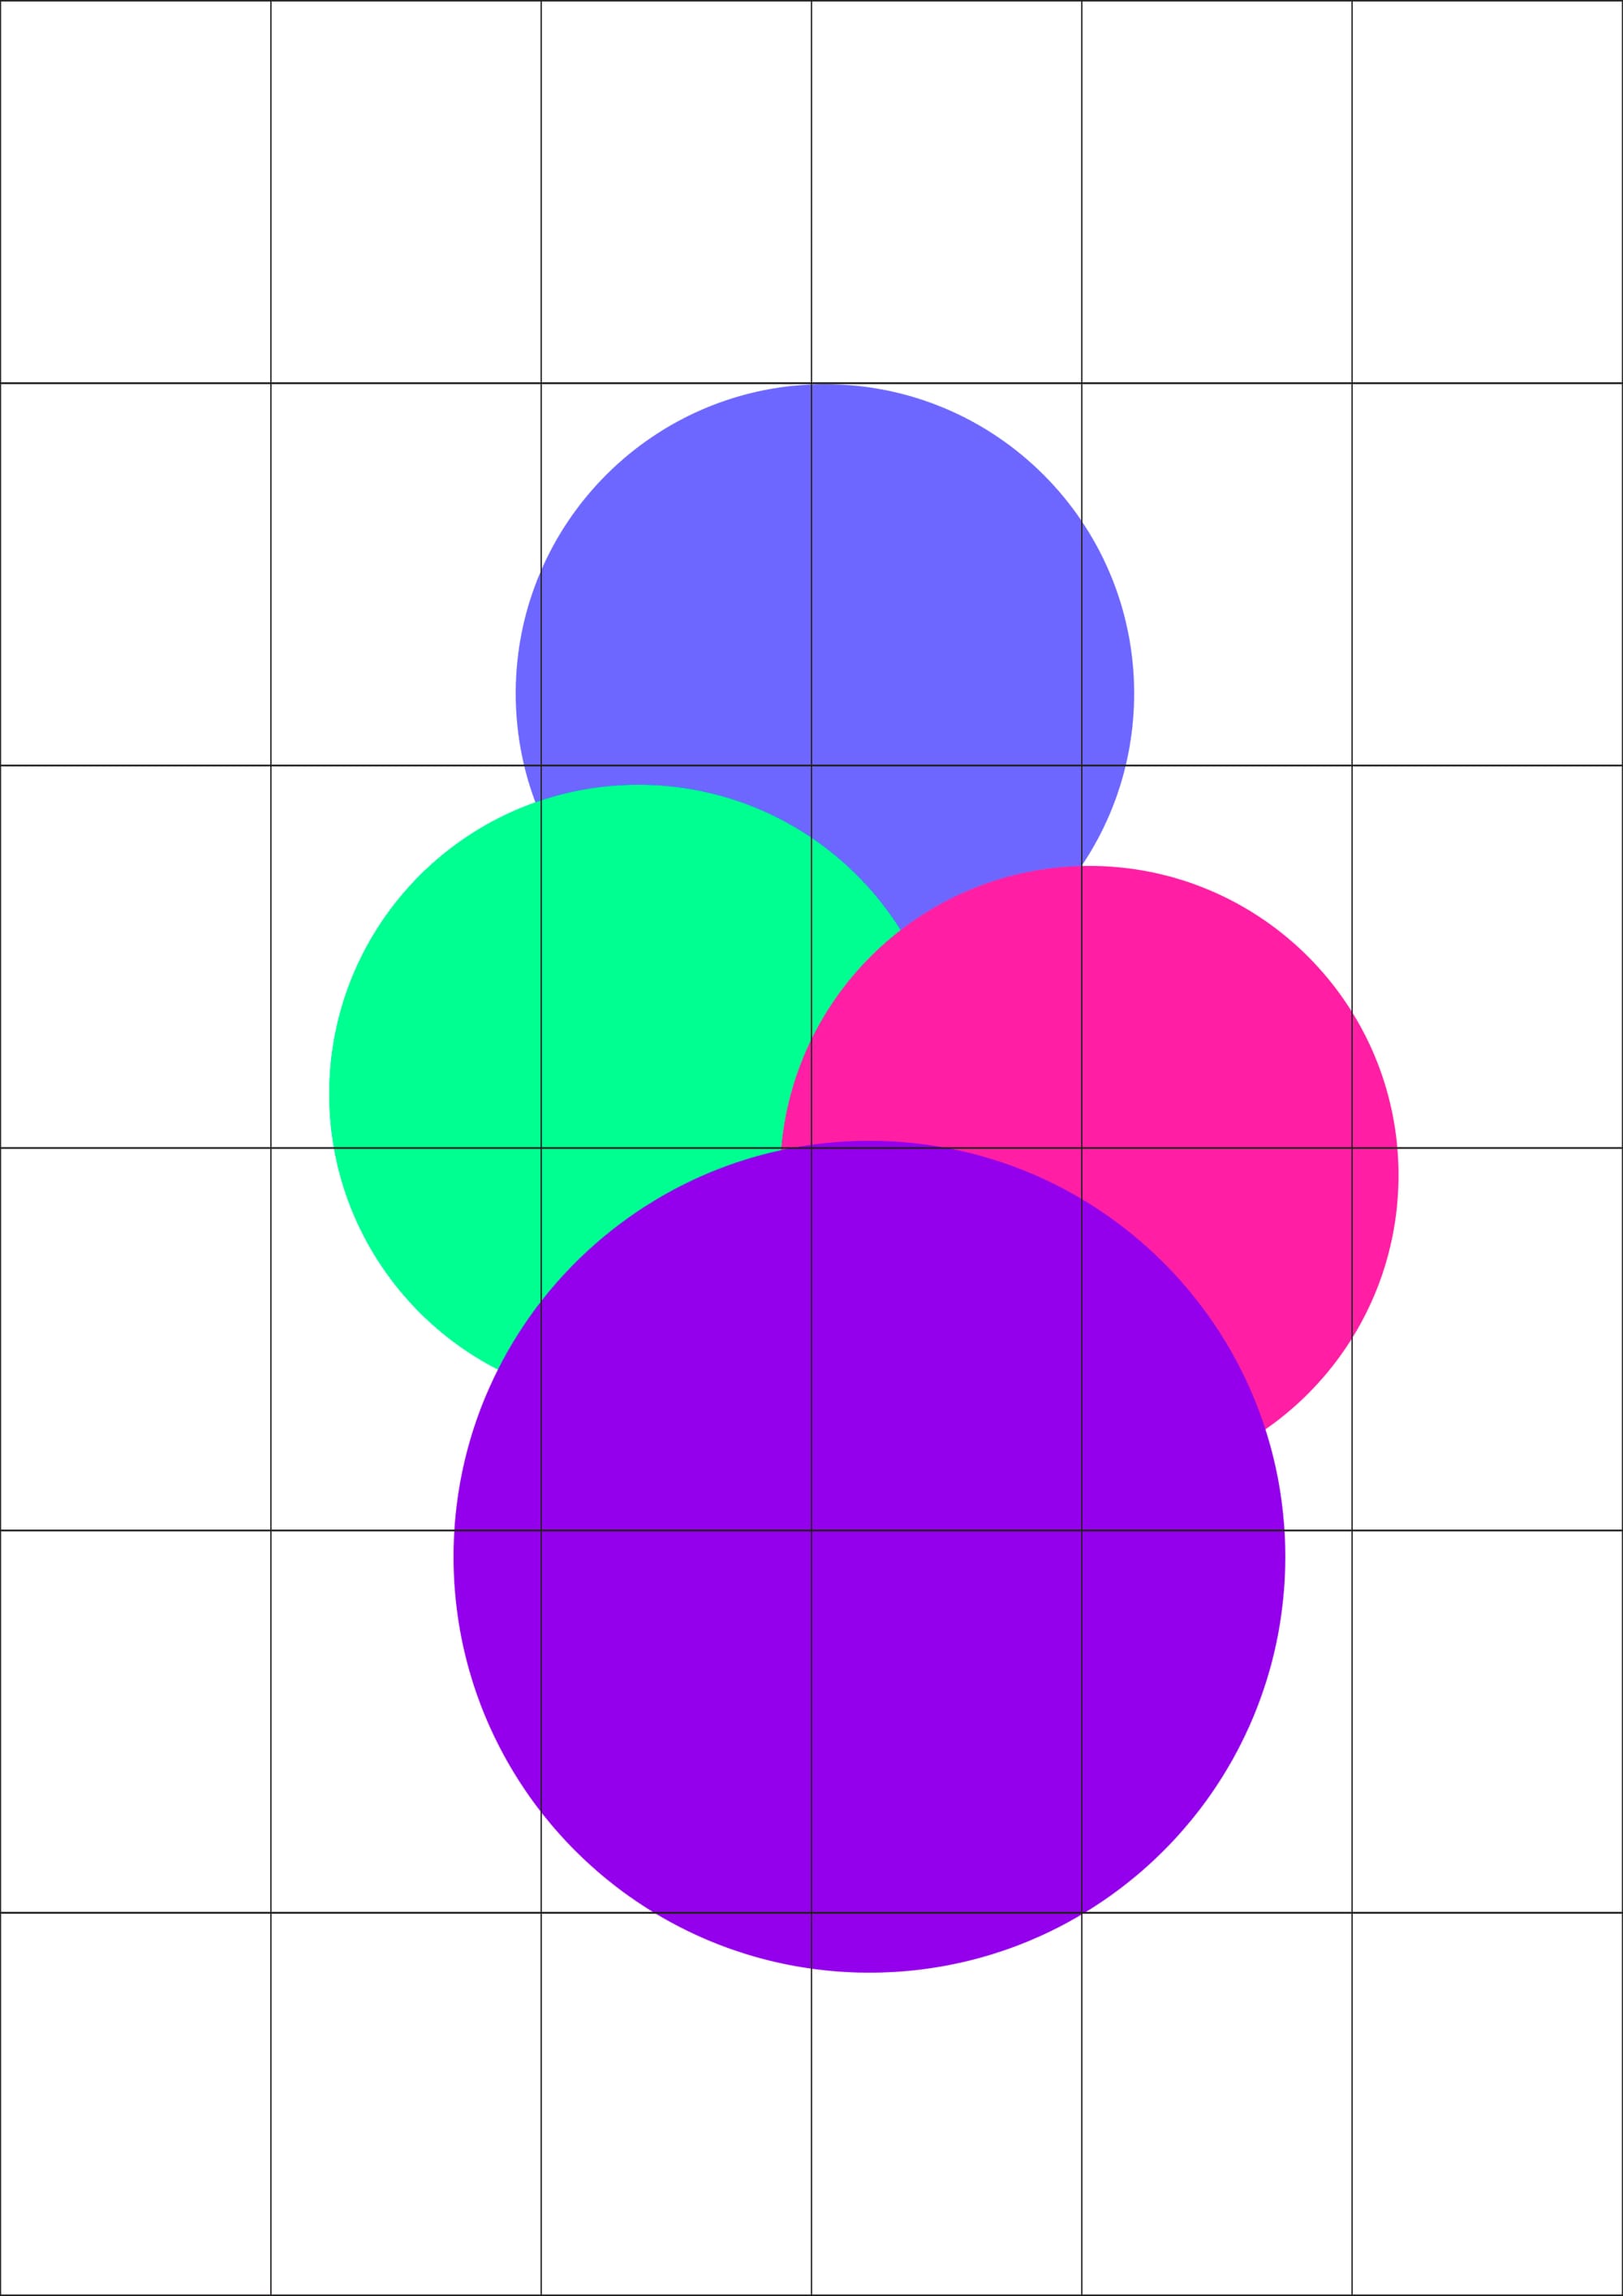
Step 1: Create Your Layout
First we need to create the circular shapes and distribute them through the layout (you can help the process by using a grid) and to give later the personality to each circular shape it’s important to apply color psychology and give each shape a specific color.
Step 2: Add Personality with Color Psychology
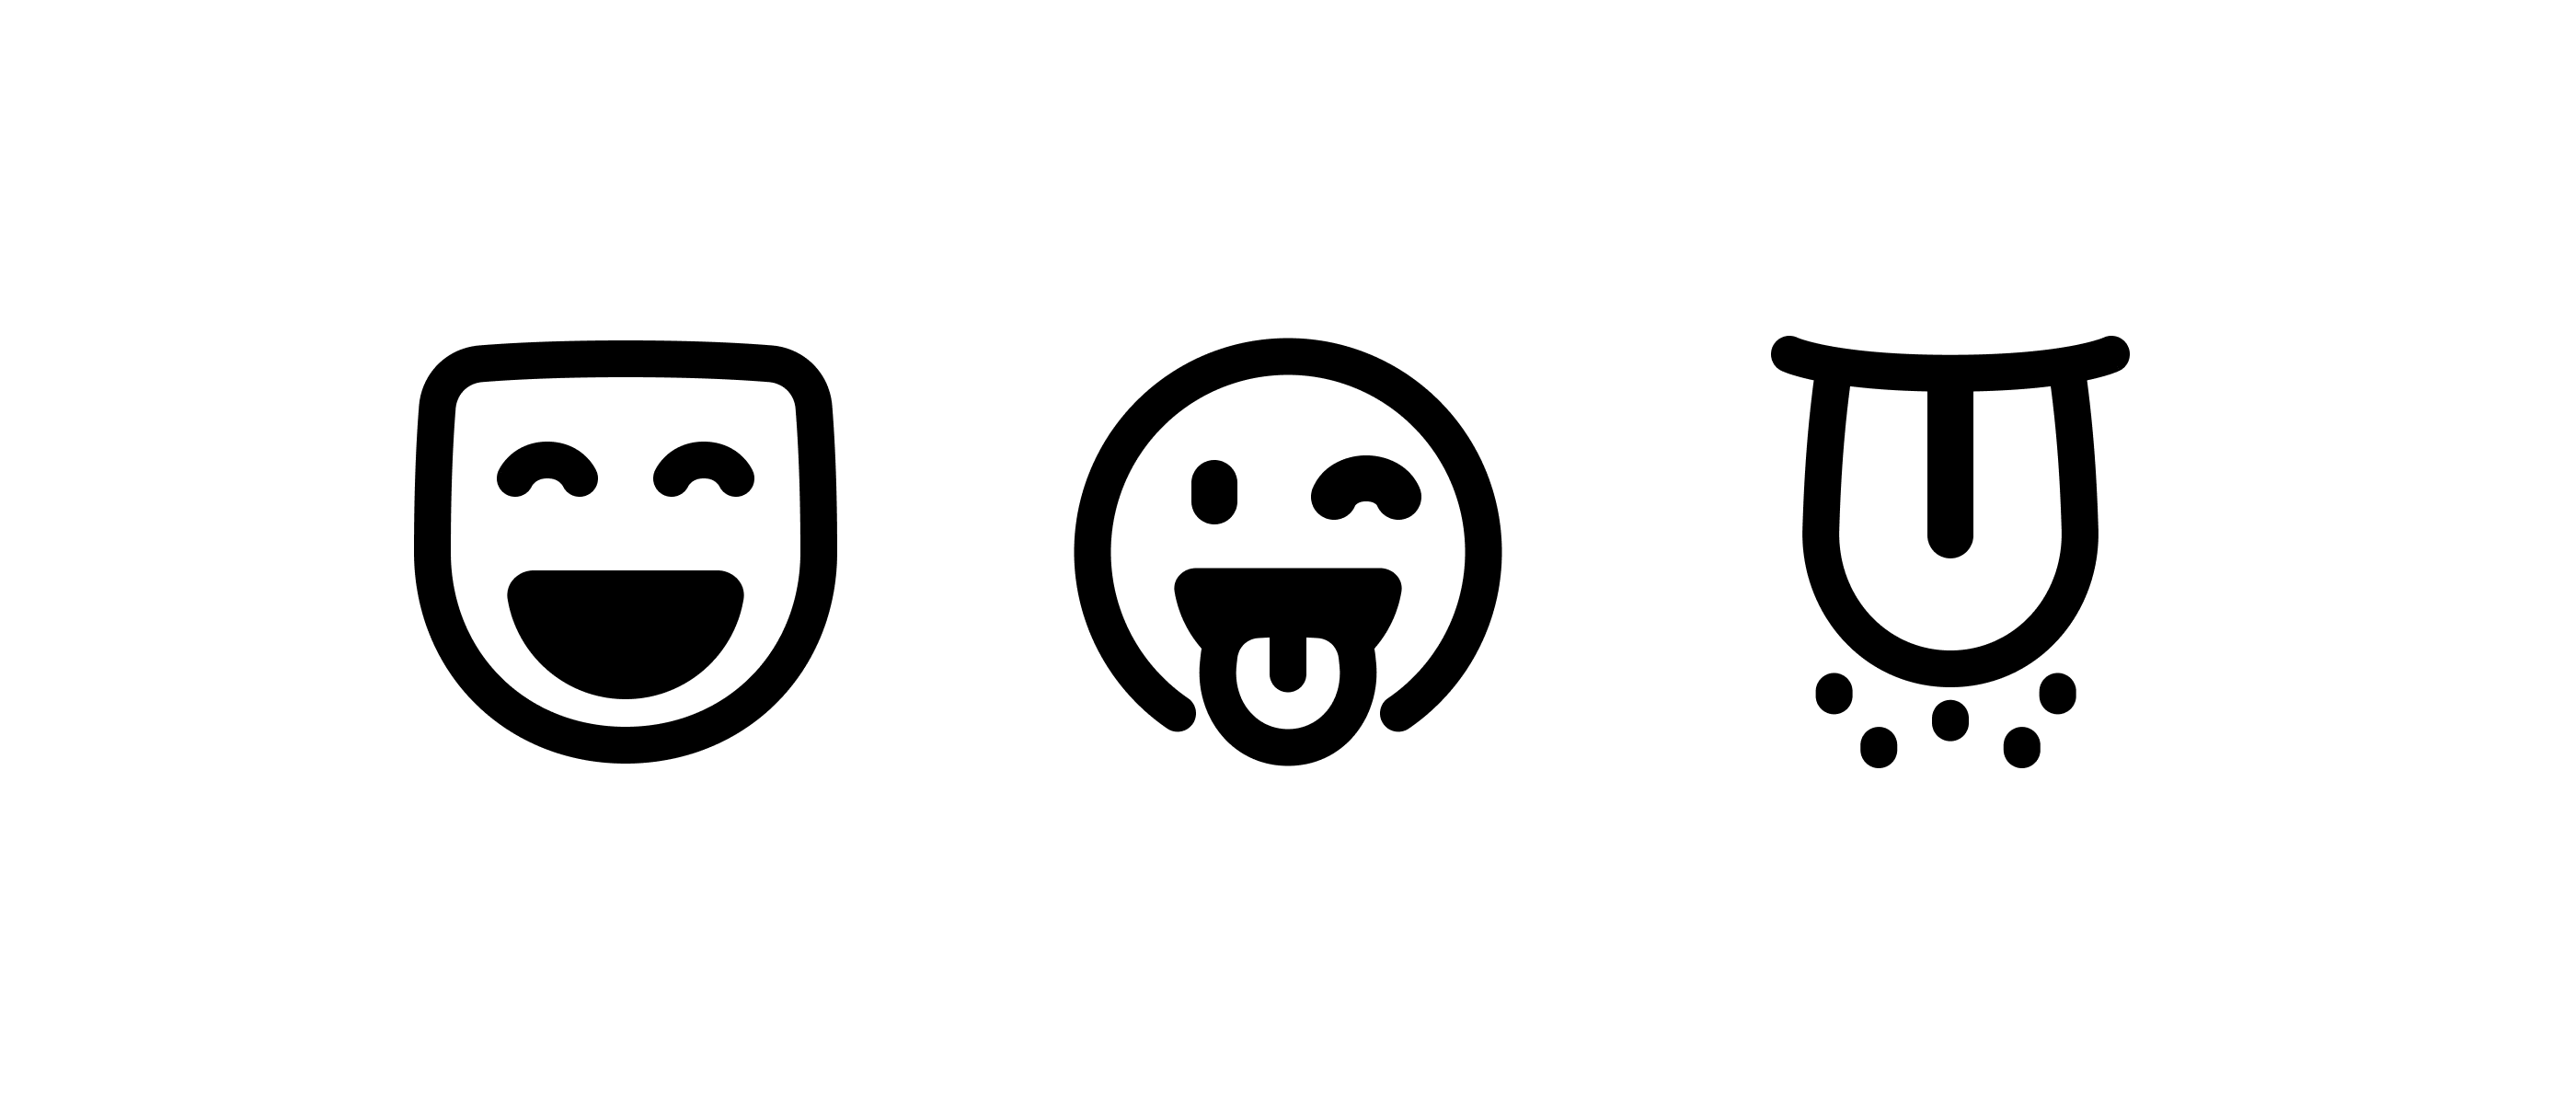
Now that we have the shapes distributed around the layout, it’s time to emphasize on their personality, and we add a face using face icons, and as the idea is to create a playful poster you can look at quirky and playful expressions.
Step 3: Add Extra Playfulness
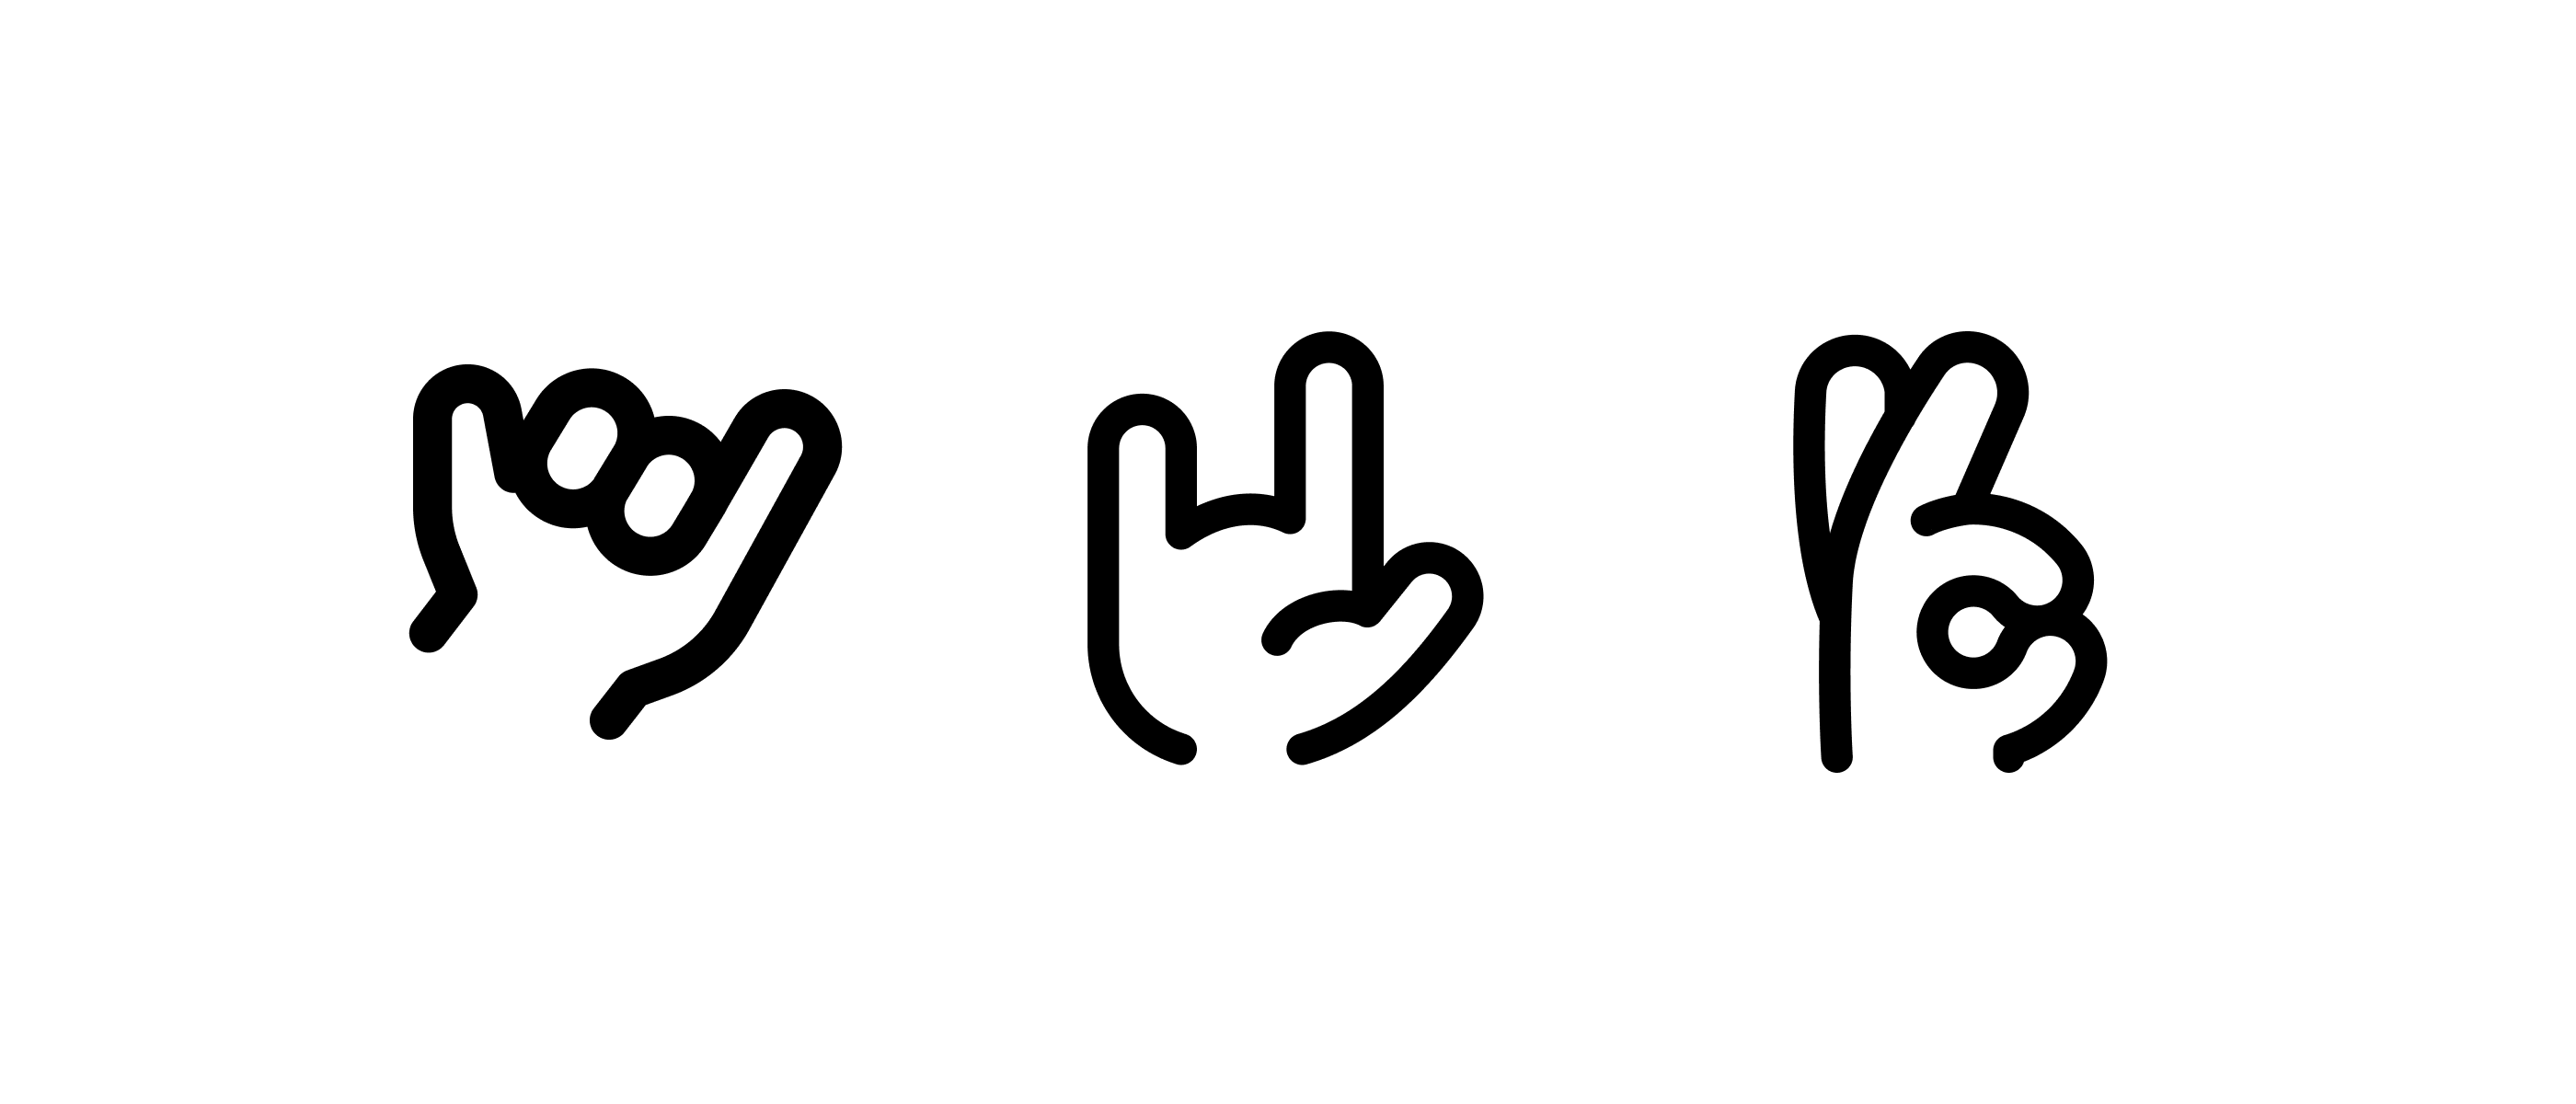
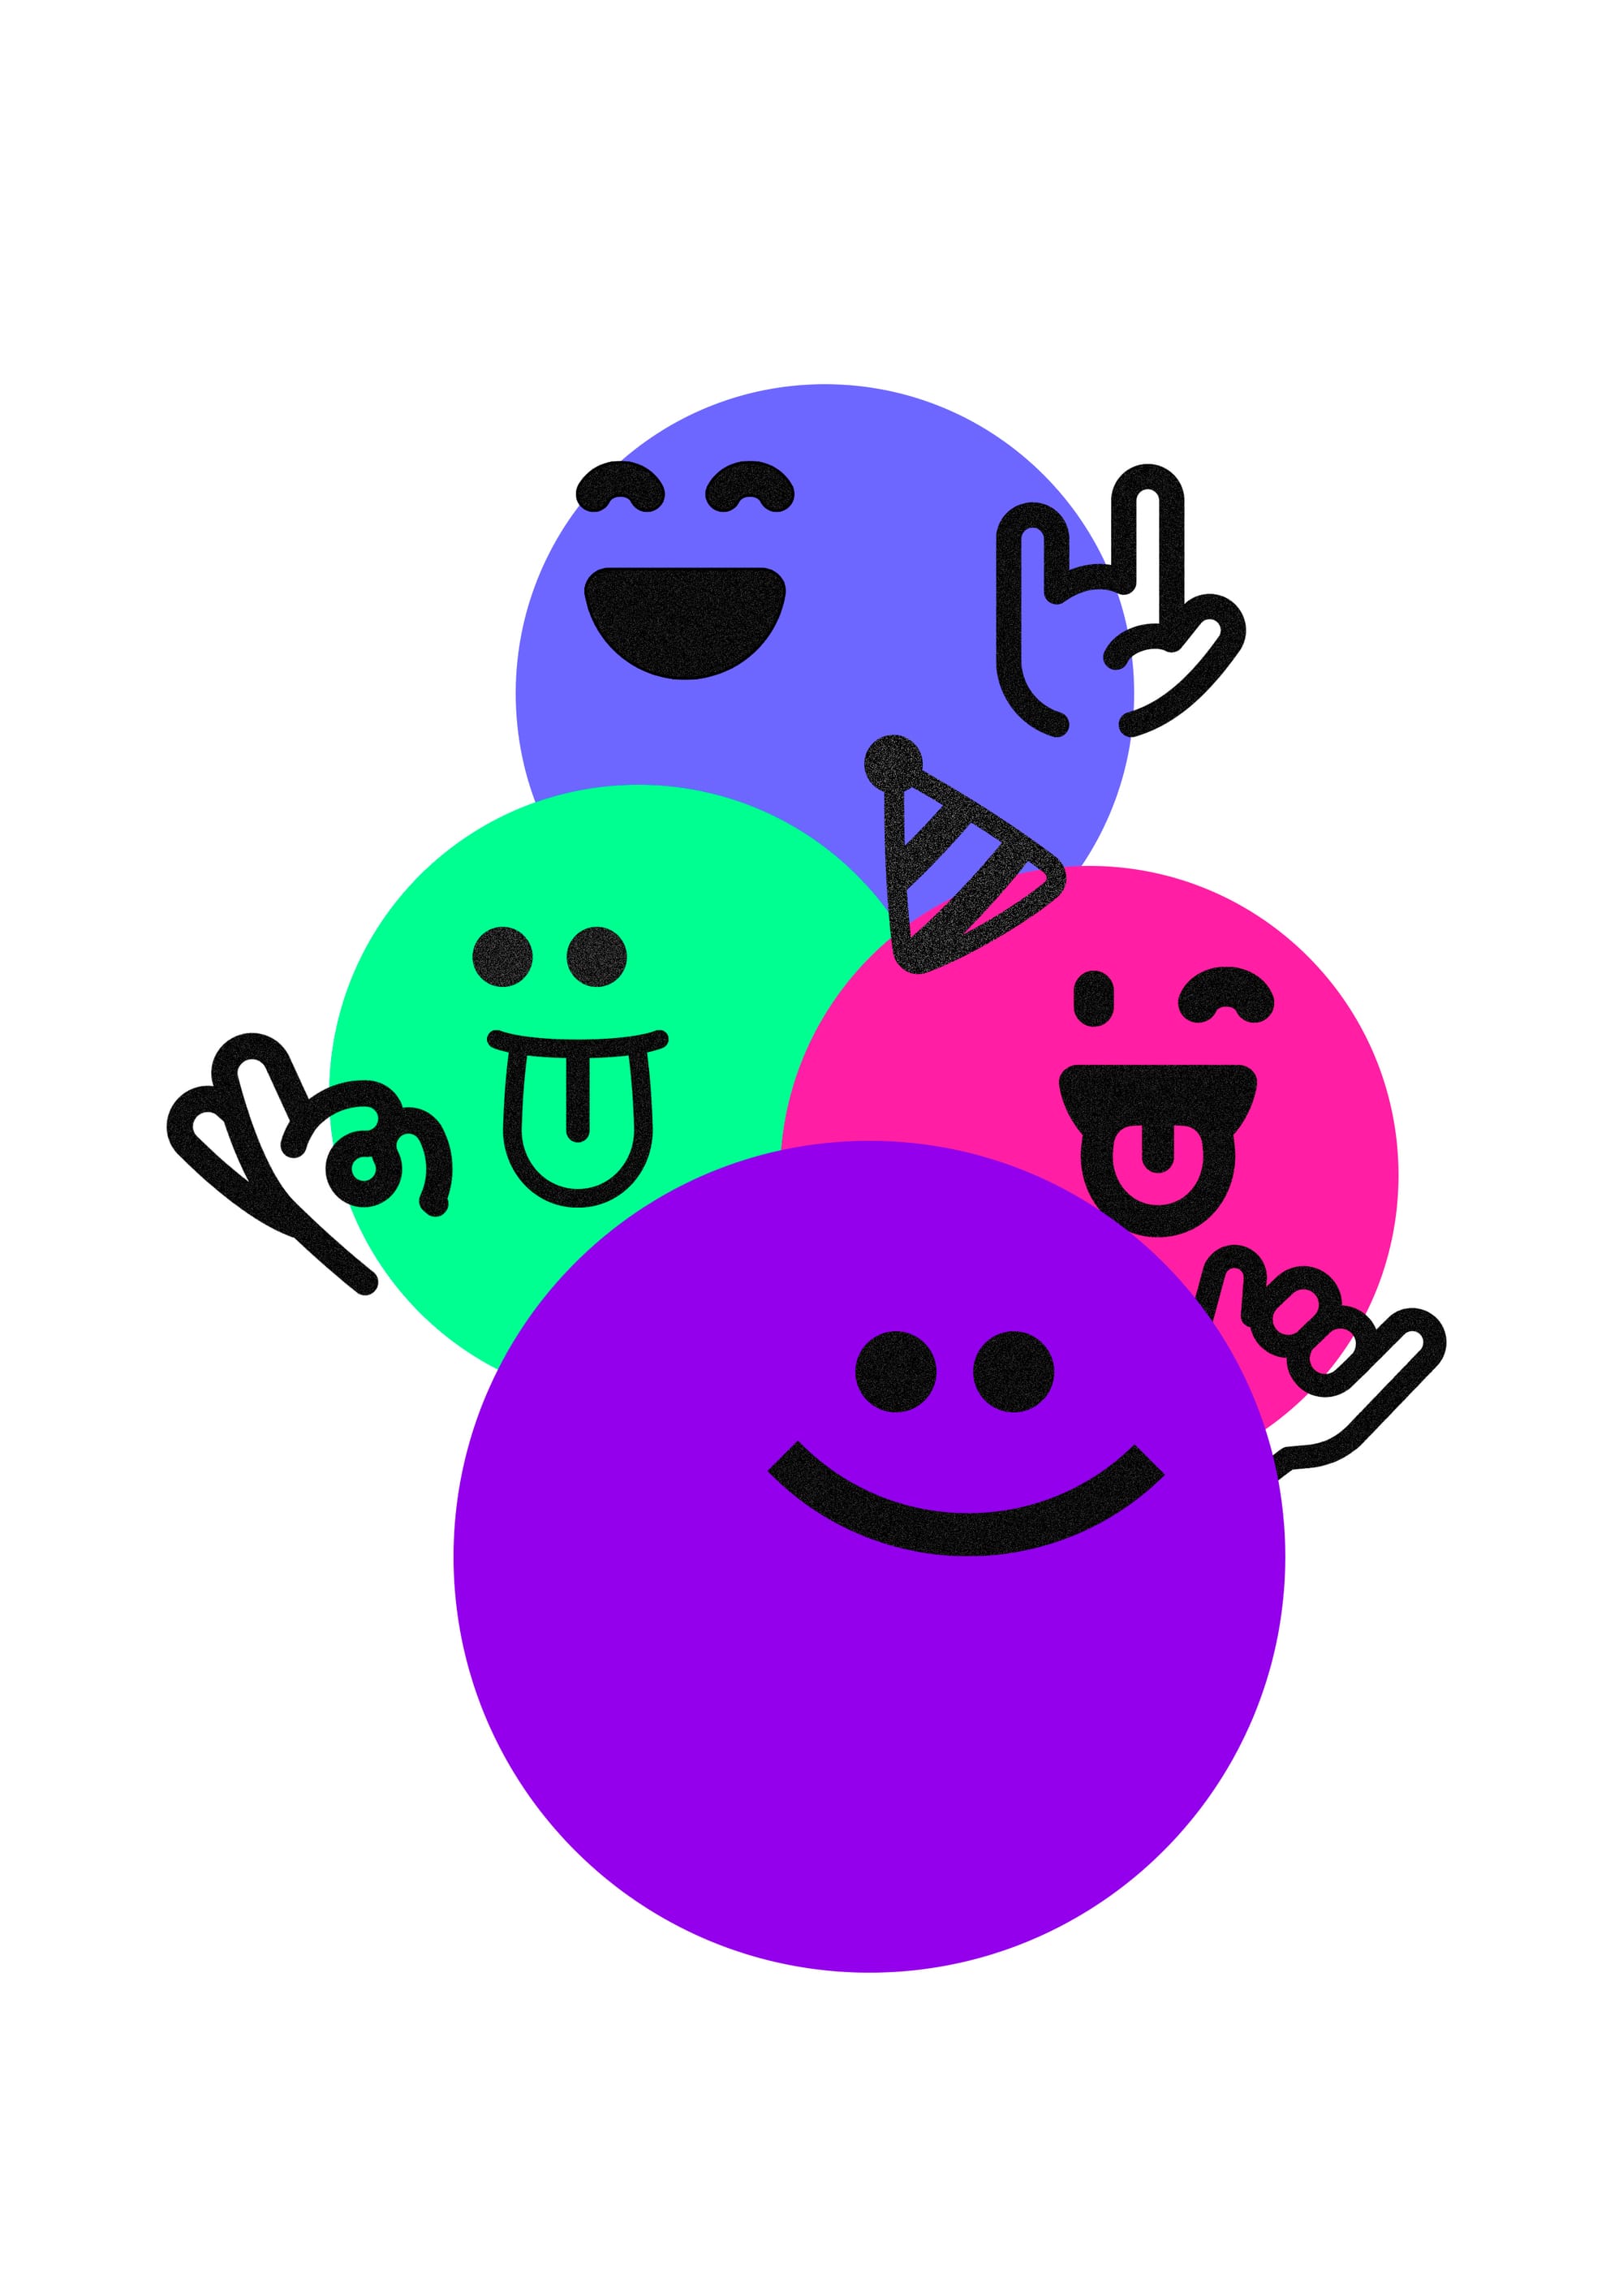
Let’s add more “Playfulness” to each shape, so we can add hand icons and a party hat icon that will emphasize this feeling at the same time that it gives more context for the design and make it look more rich visually.
Step 4: Build Depth with Light and Shadow
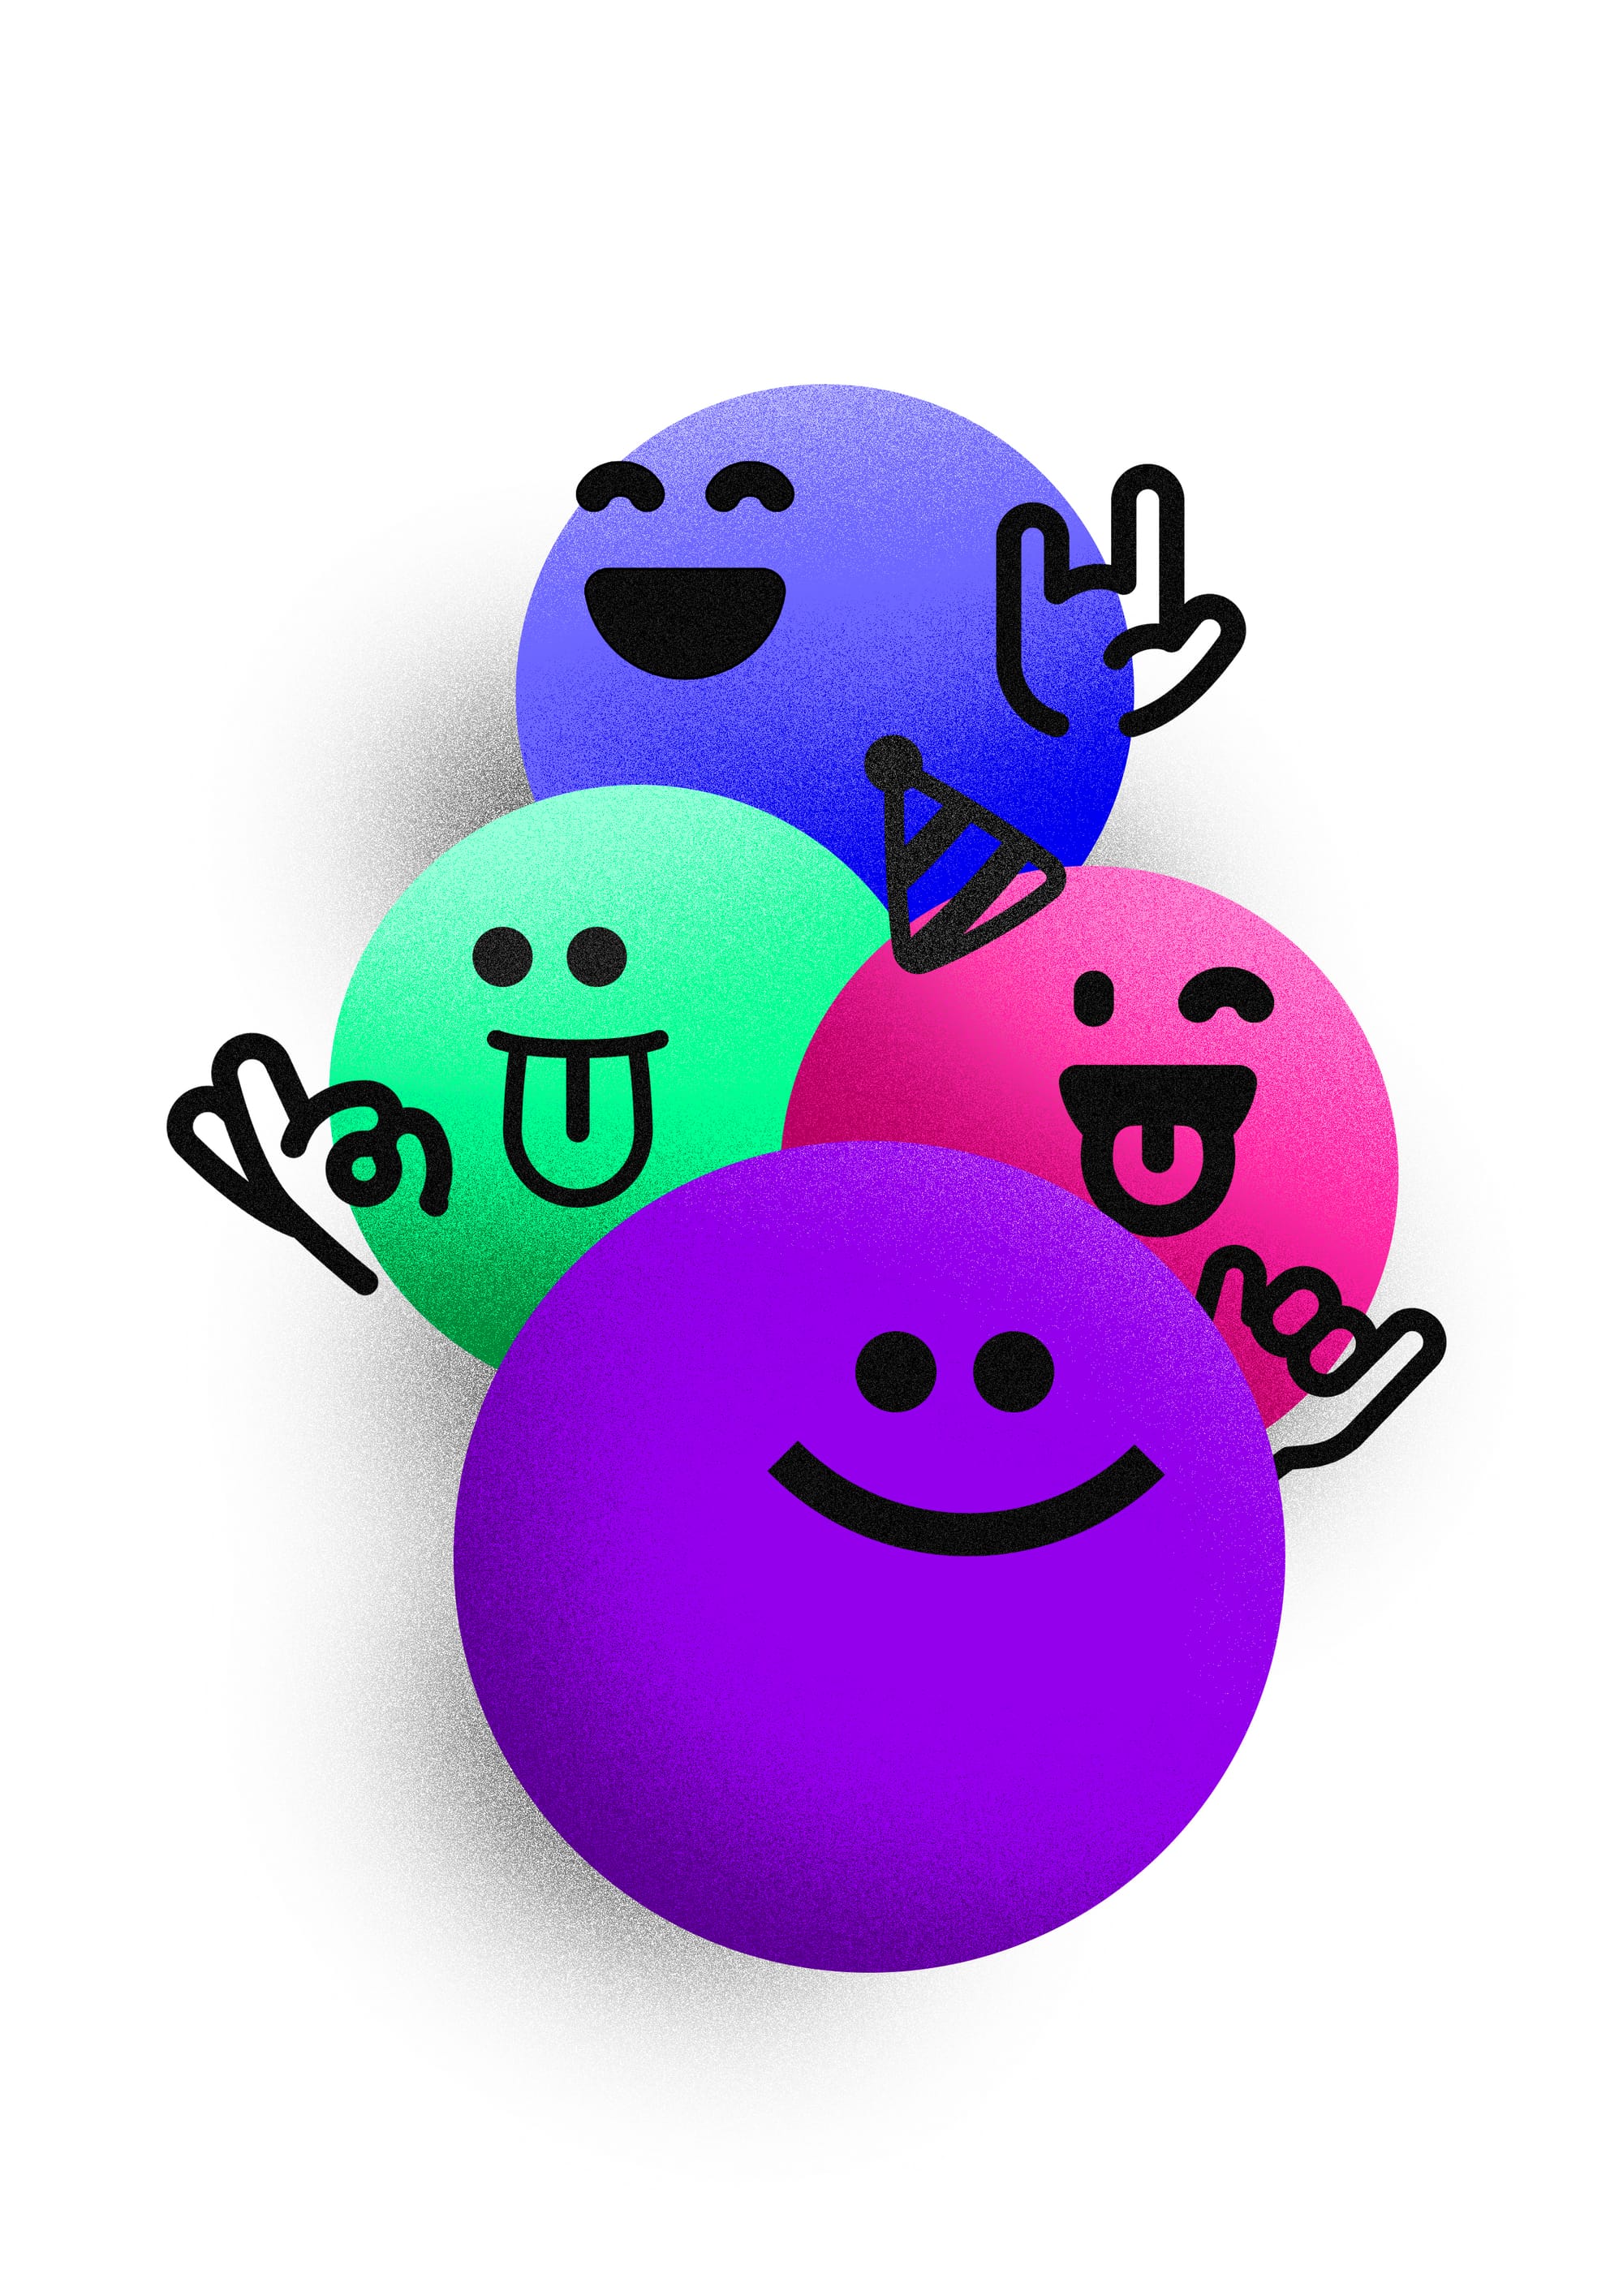
Use a soft brush on a new layer to apply shadows (with darker tones) and highlights (with lighter tones) around the edges of each shape, this will give more depth to our design.
Step 5: Finish with Text and Details
Incorporate your main text (play with bold, fun typefaces), add a frame, and include final touches like textures or subtle filters to bring the composition together.

Tutorial 2: Feel the Sound
In this second design, the challenge is to express energy, rhythm, and groove using a pre-designed icon set. The final piece is a digital collage that combines photography and illustration to create a dynamic, music-driven poster.
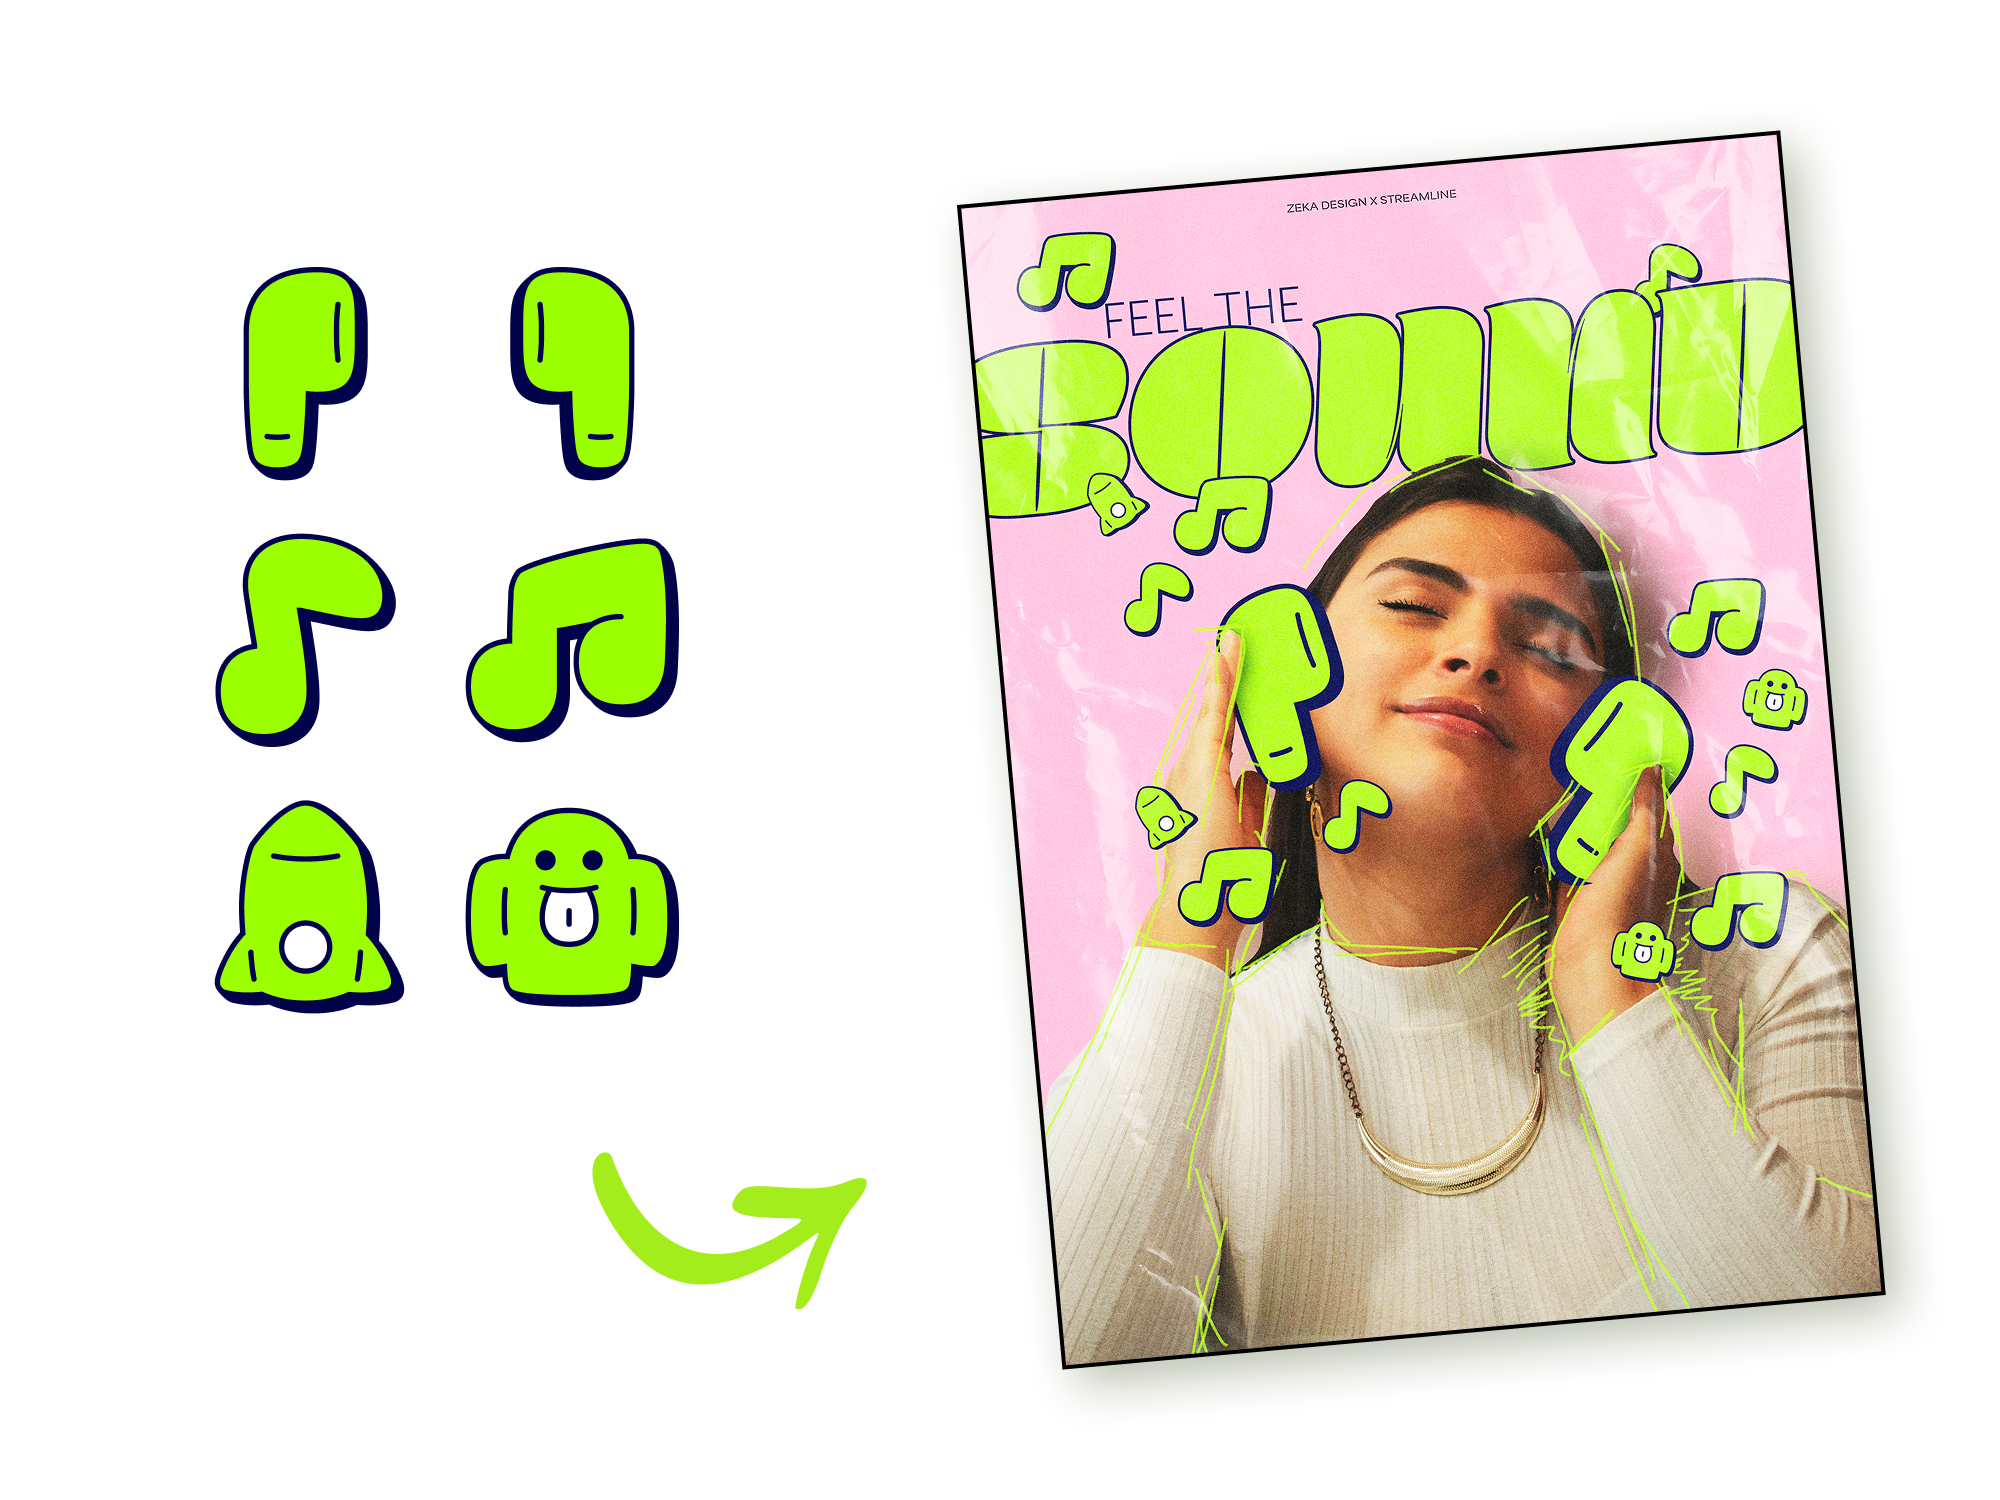
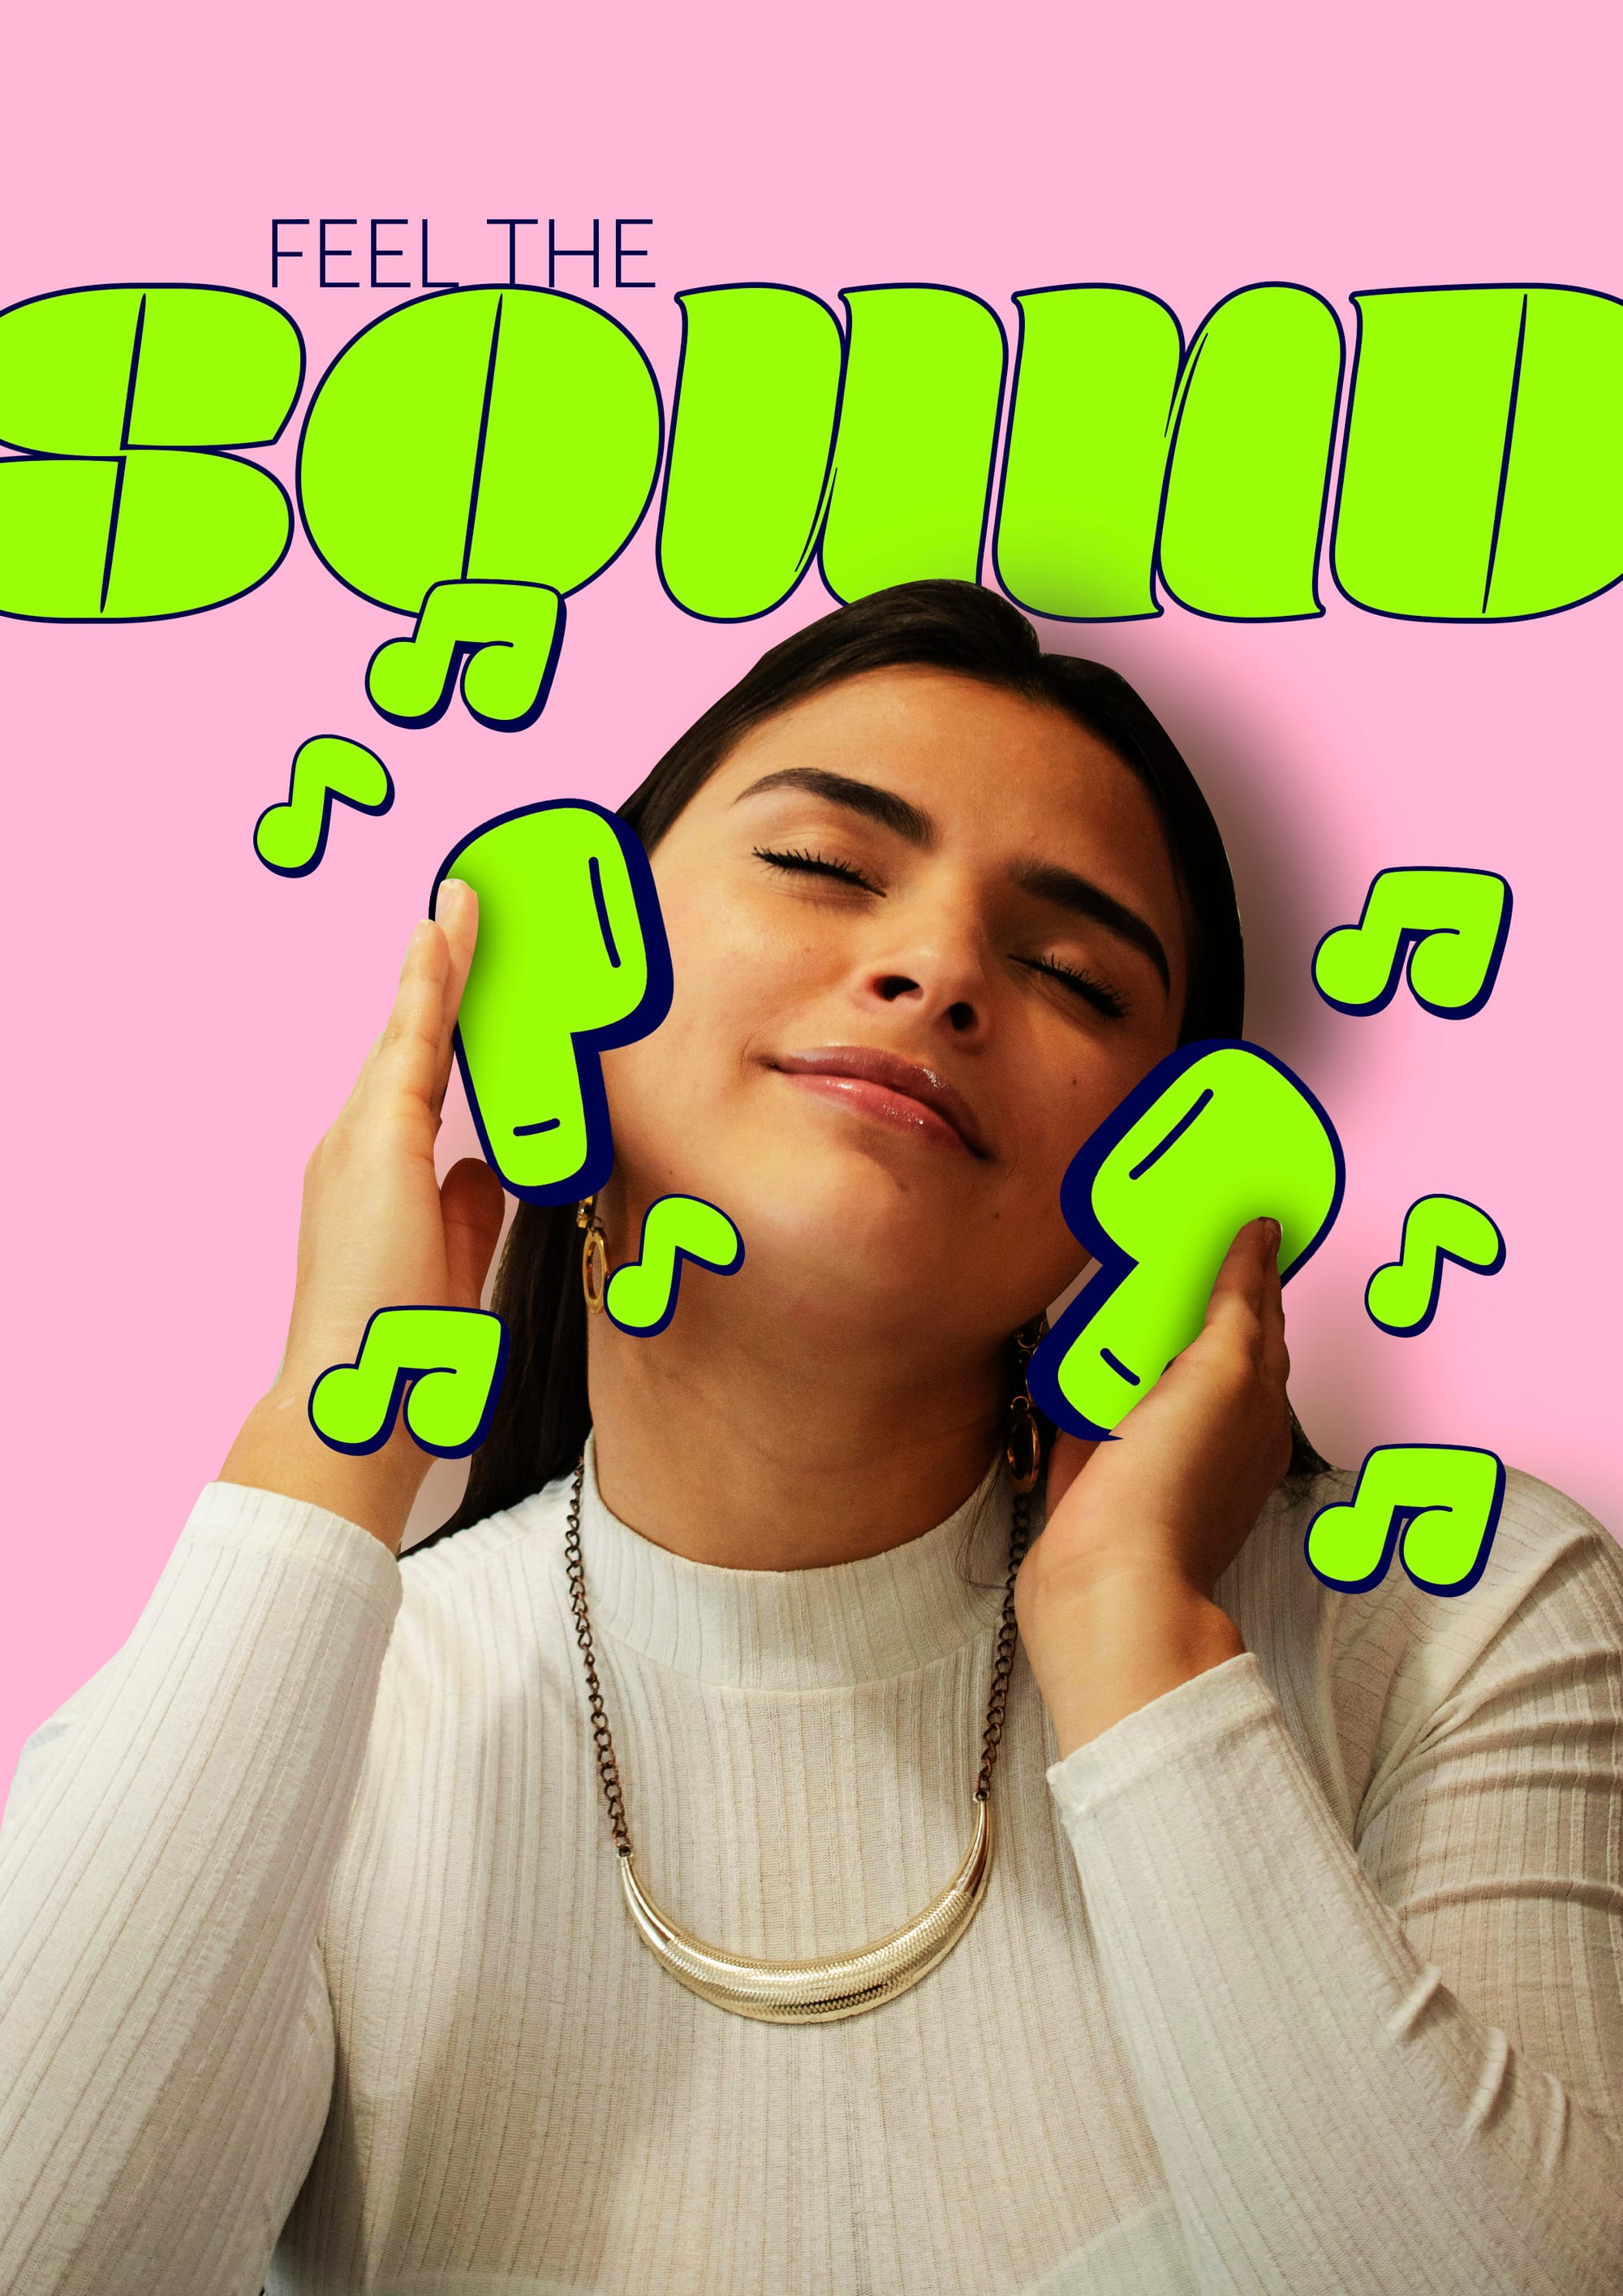
Step 1: Start with Your Photo
Select a hero image (ideally of a person or silhouette), and integrate it with the icon of earphones. Use shadows to blend both elements seamlessly.

Step 2: Add Typography
Create a bold title (like “Feel the Sound”) using a groovy display font. In this case, “Marshmallow” was chosen, matching the earphone color to visually connect the title with the icons.

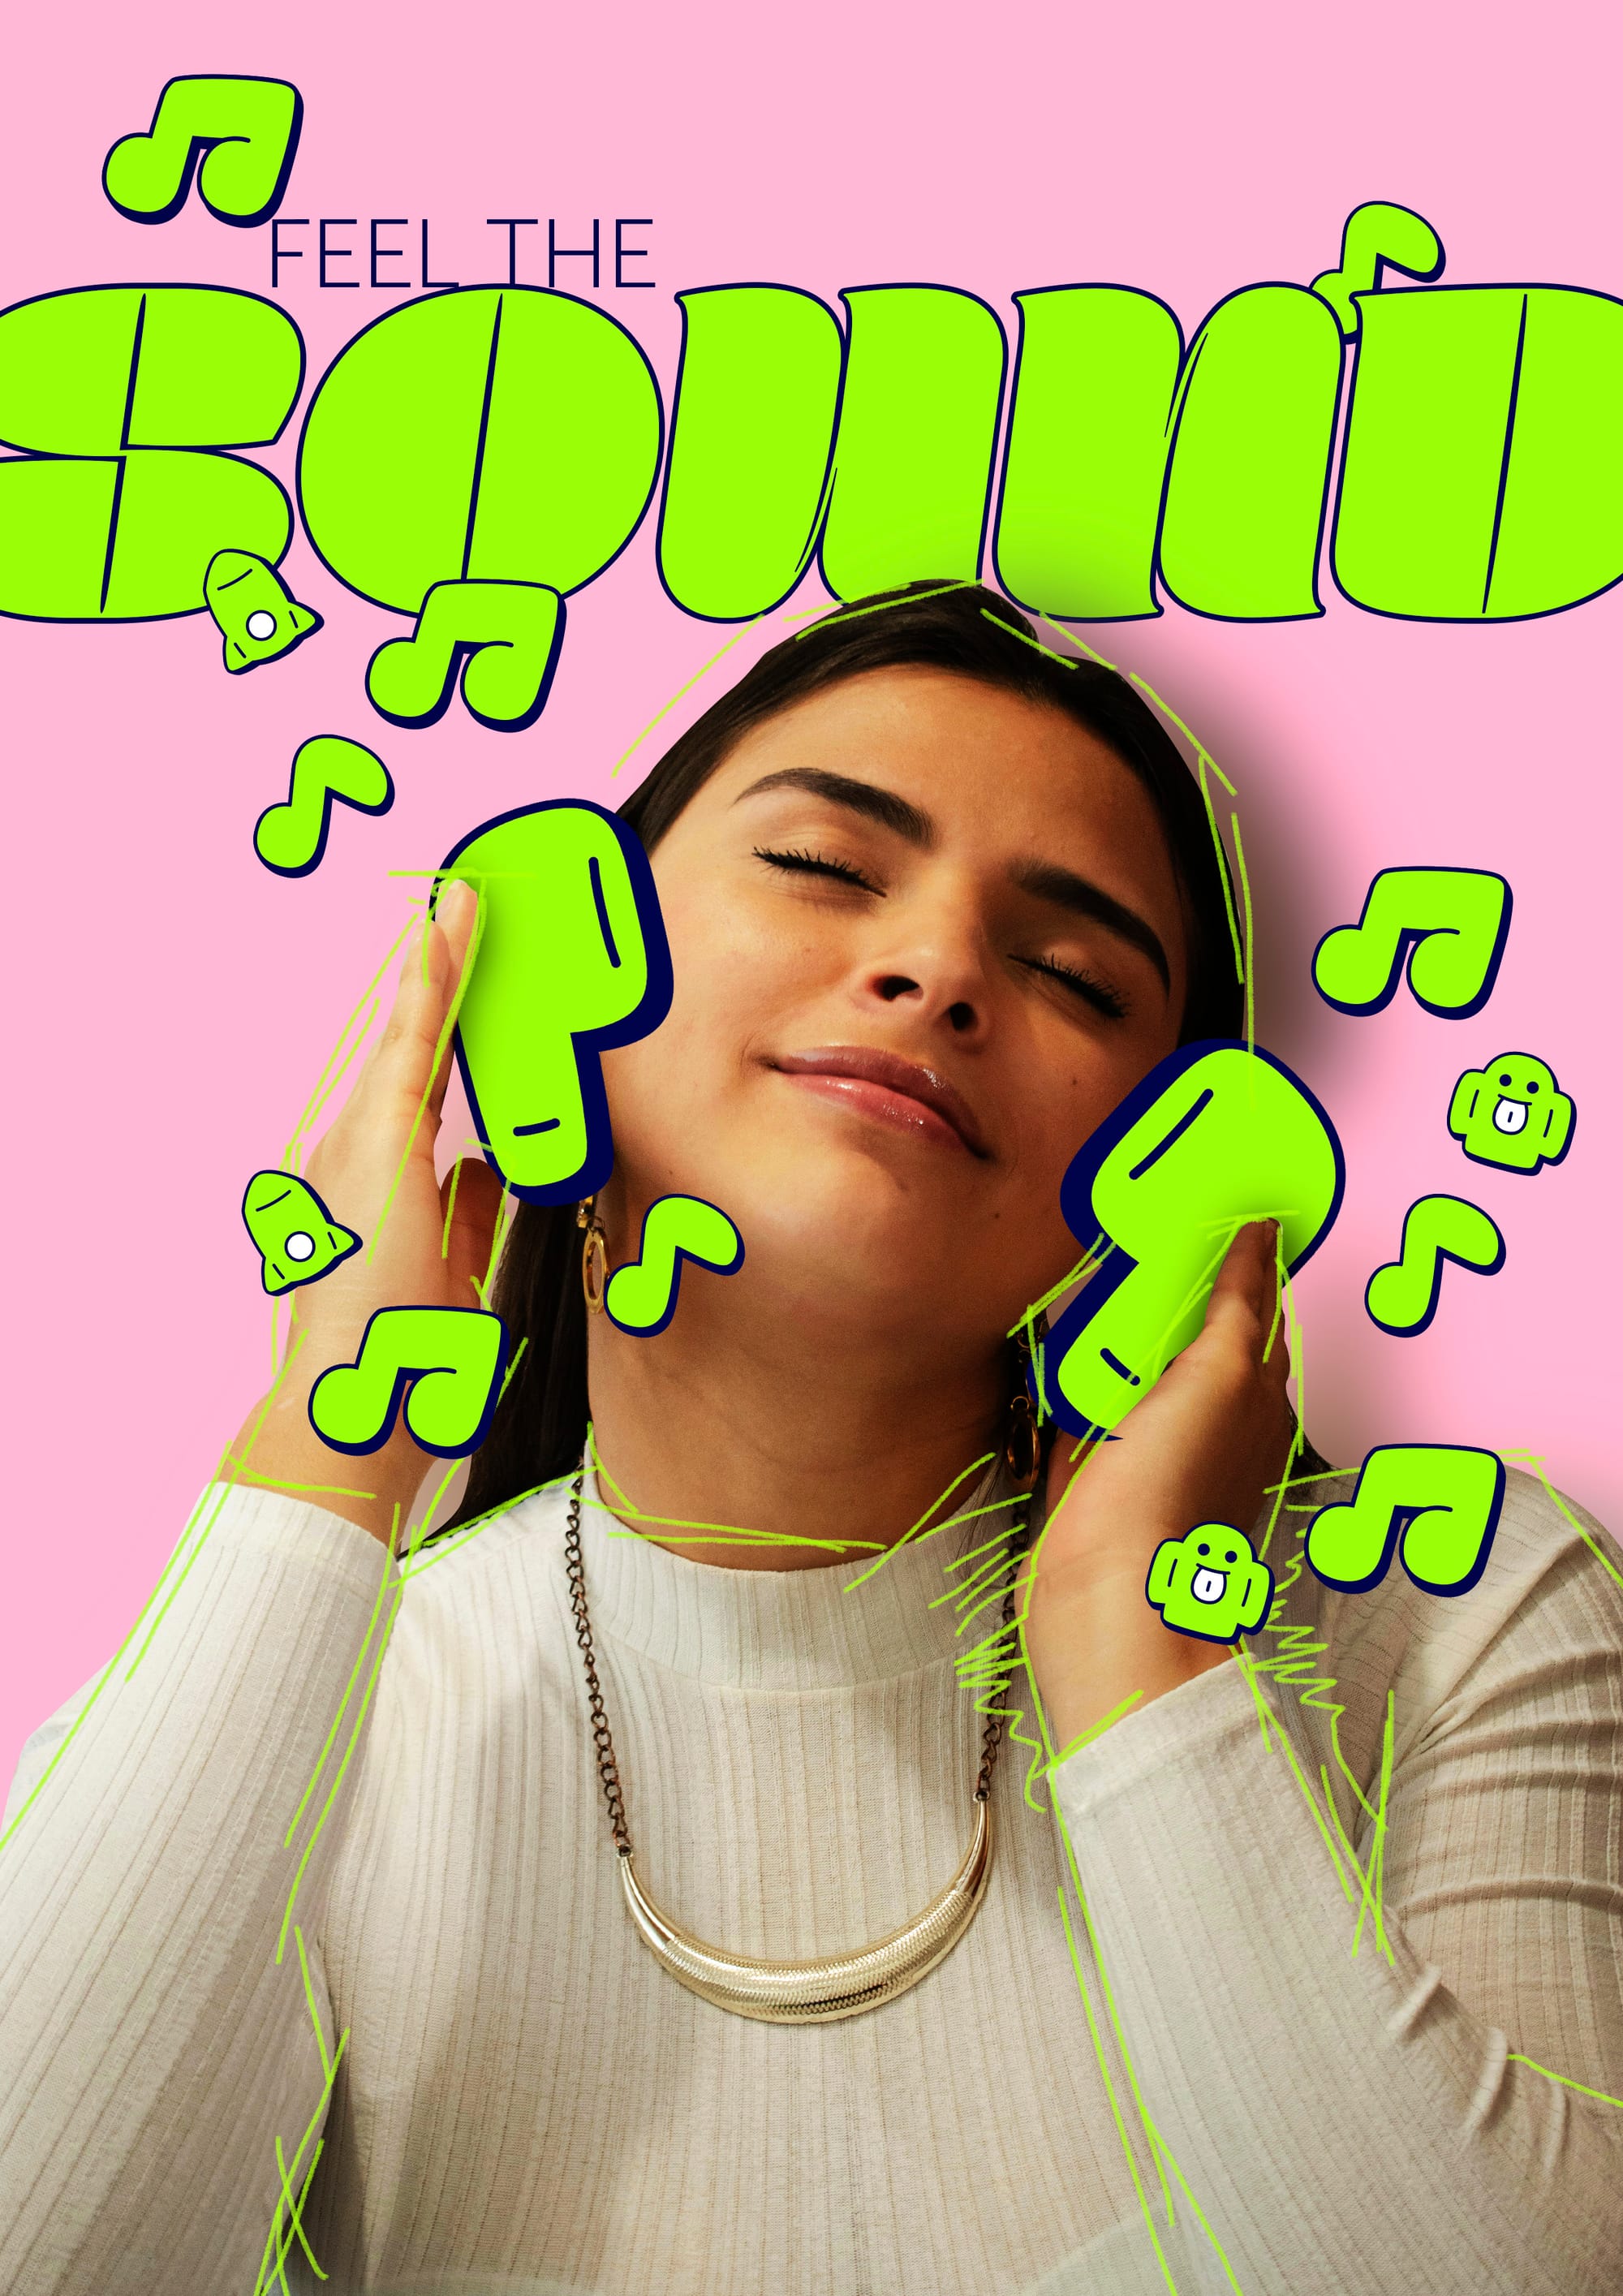
Step 3: Infuse Movement with Icons
Add more icons from the same set (music notes and groovy icons) around the subject to emphasize sound and motion.

Step 4: Draw Energy Lines
Use the brush tool to sketch radiating lines or waves from the earphones to reflect how the music is affecting the character.
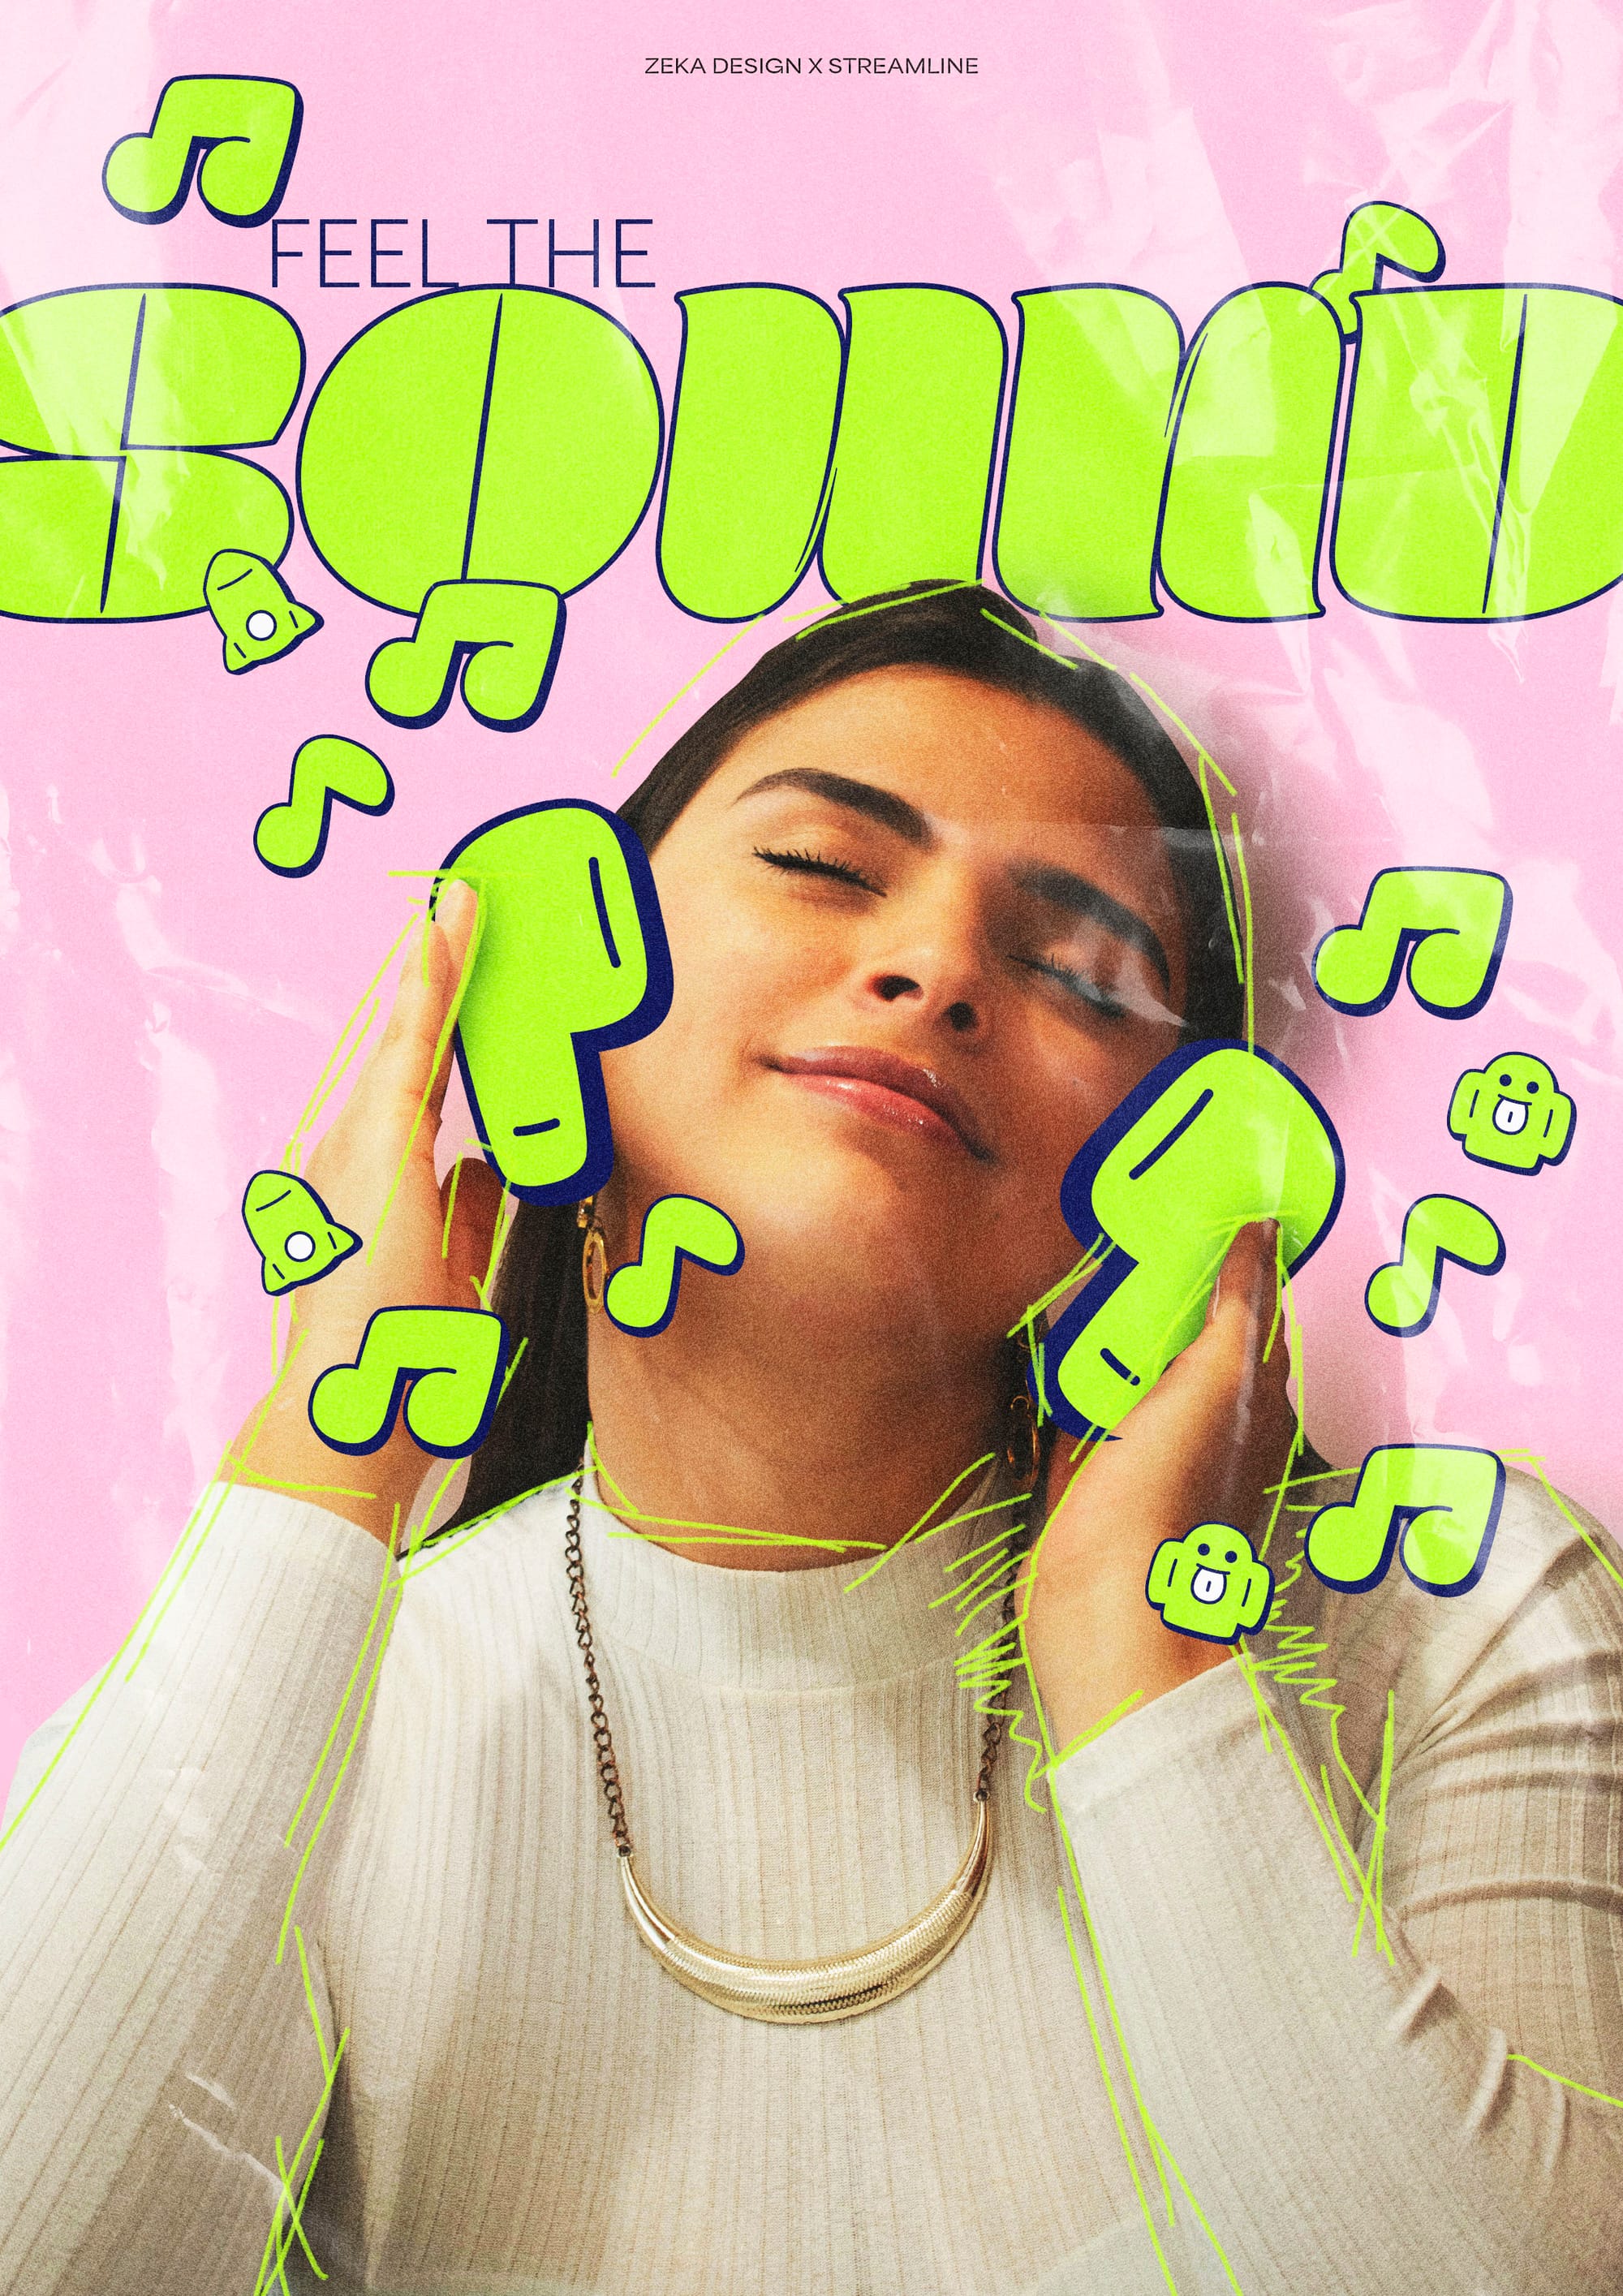
Step 5: Final Polish
Finish the composition with filters, textures, and subtle lighting effects. The goal is to merge all elements into a cohesive, energetic scene that feels alive.
Icons are incredibly versatile when used creatively.
As you've seen in these tutorials, they can do much more than simply support information. They can tell stories, build atmosphere, and transform abstract concepts into engaging visuals.
Whether you're playing with geometry or blending icons with photography, the key is to experiment, exaggerate, and layer with purpose.
Ready to elevate your icon game?
Dive into your next project with fresh eyes and try turning a simple icon set into something unforgettable.